Field guide Guides 11 min
Greenhouse Ventilation: Fan Sizing and Auto Vent Openers
A 10x12 greenhouse needs a 975 CFM fan. Auto vent openers use wax to open at 55-75 degrees F with no electricity. Without both, heat kills before frost does.
A 10-by-12 greenhouse needs a 975 CFM exhaust fan. Auto vent openers use wax that expands with heat to crack the roof open at 55 to 75 degrees F, with no electricity. More plants die from overheating in spring than from cold in winter. The fix is fan sizing math.
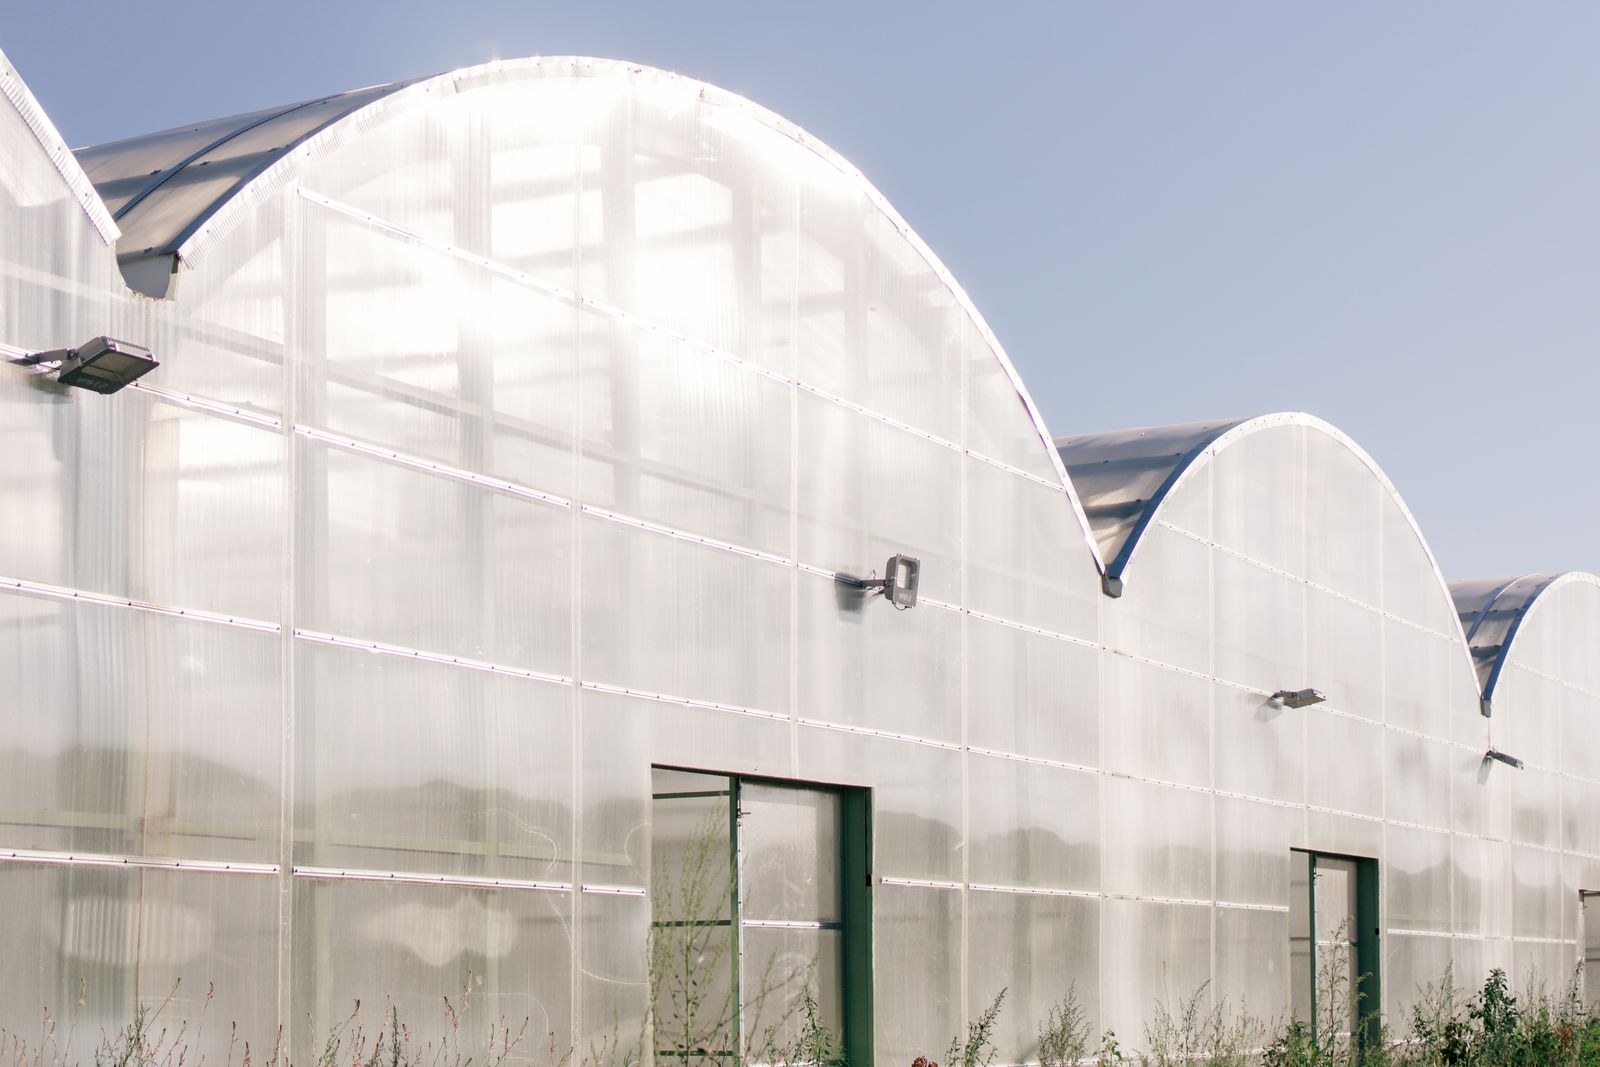
The surprise catches first-time greenhouse owners every April. The structure that held up through February becomes an oven the first full-sun week of March. An unventilated polycarbonate greenhouse on a bright 45-degree-F day can reach 100 degrees F or more within two hours of sunrise. Owners come out at noon to find collapsed seedlings and assume disease or frost damage. The cause is heat. And it was preventable.
How glazing traps heat
Polycarbonate and glass do exactly what they are designed to do here. Short-wave solar radiation passes through the glazing. Plants, soil, and interior surfaces absorb it and re-emit it as long-wave infrared. Polycarbonate and glass block long-wave infrared from escaping. The energy comes in, and most of it stays inside. That is why the same material that keeps your greenhouse warm in February turns it into a solar oven in April.
The greenhouse plastic guide covers R-values, light transmission, and how different panel thicknesses affect this heat-retention behavior. For ventilation purposes, the key fact is that solar intensity drives interior temperature far more than outdoor air temperature does. On a March day at 55 degrees F with full sun, an unventilated 10-by-12 polycarbonate kit can reach 90 degrees F by midmorning.
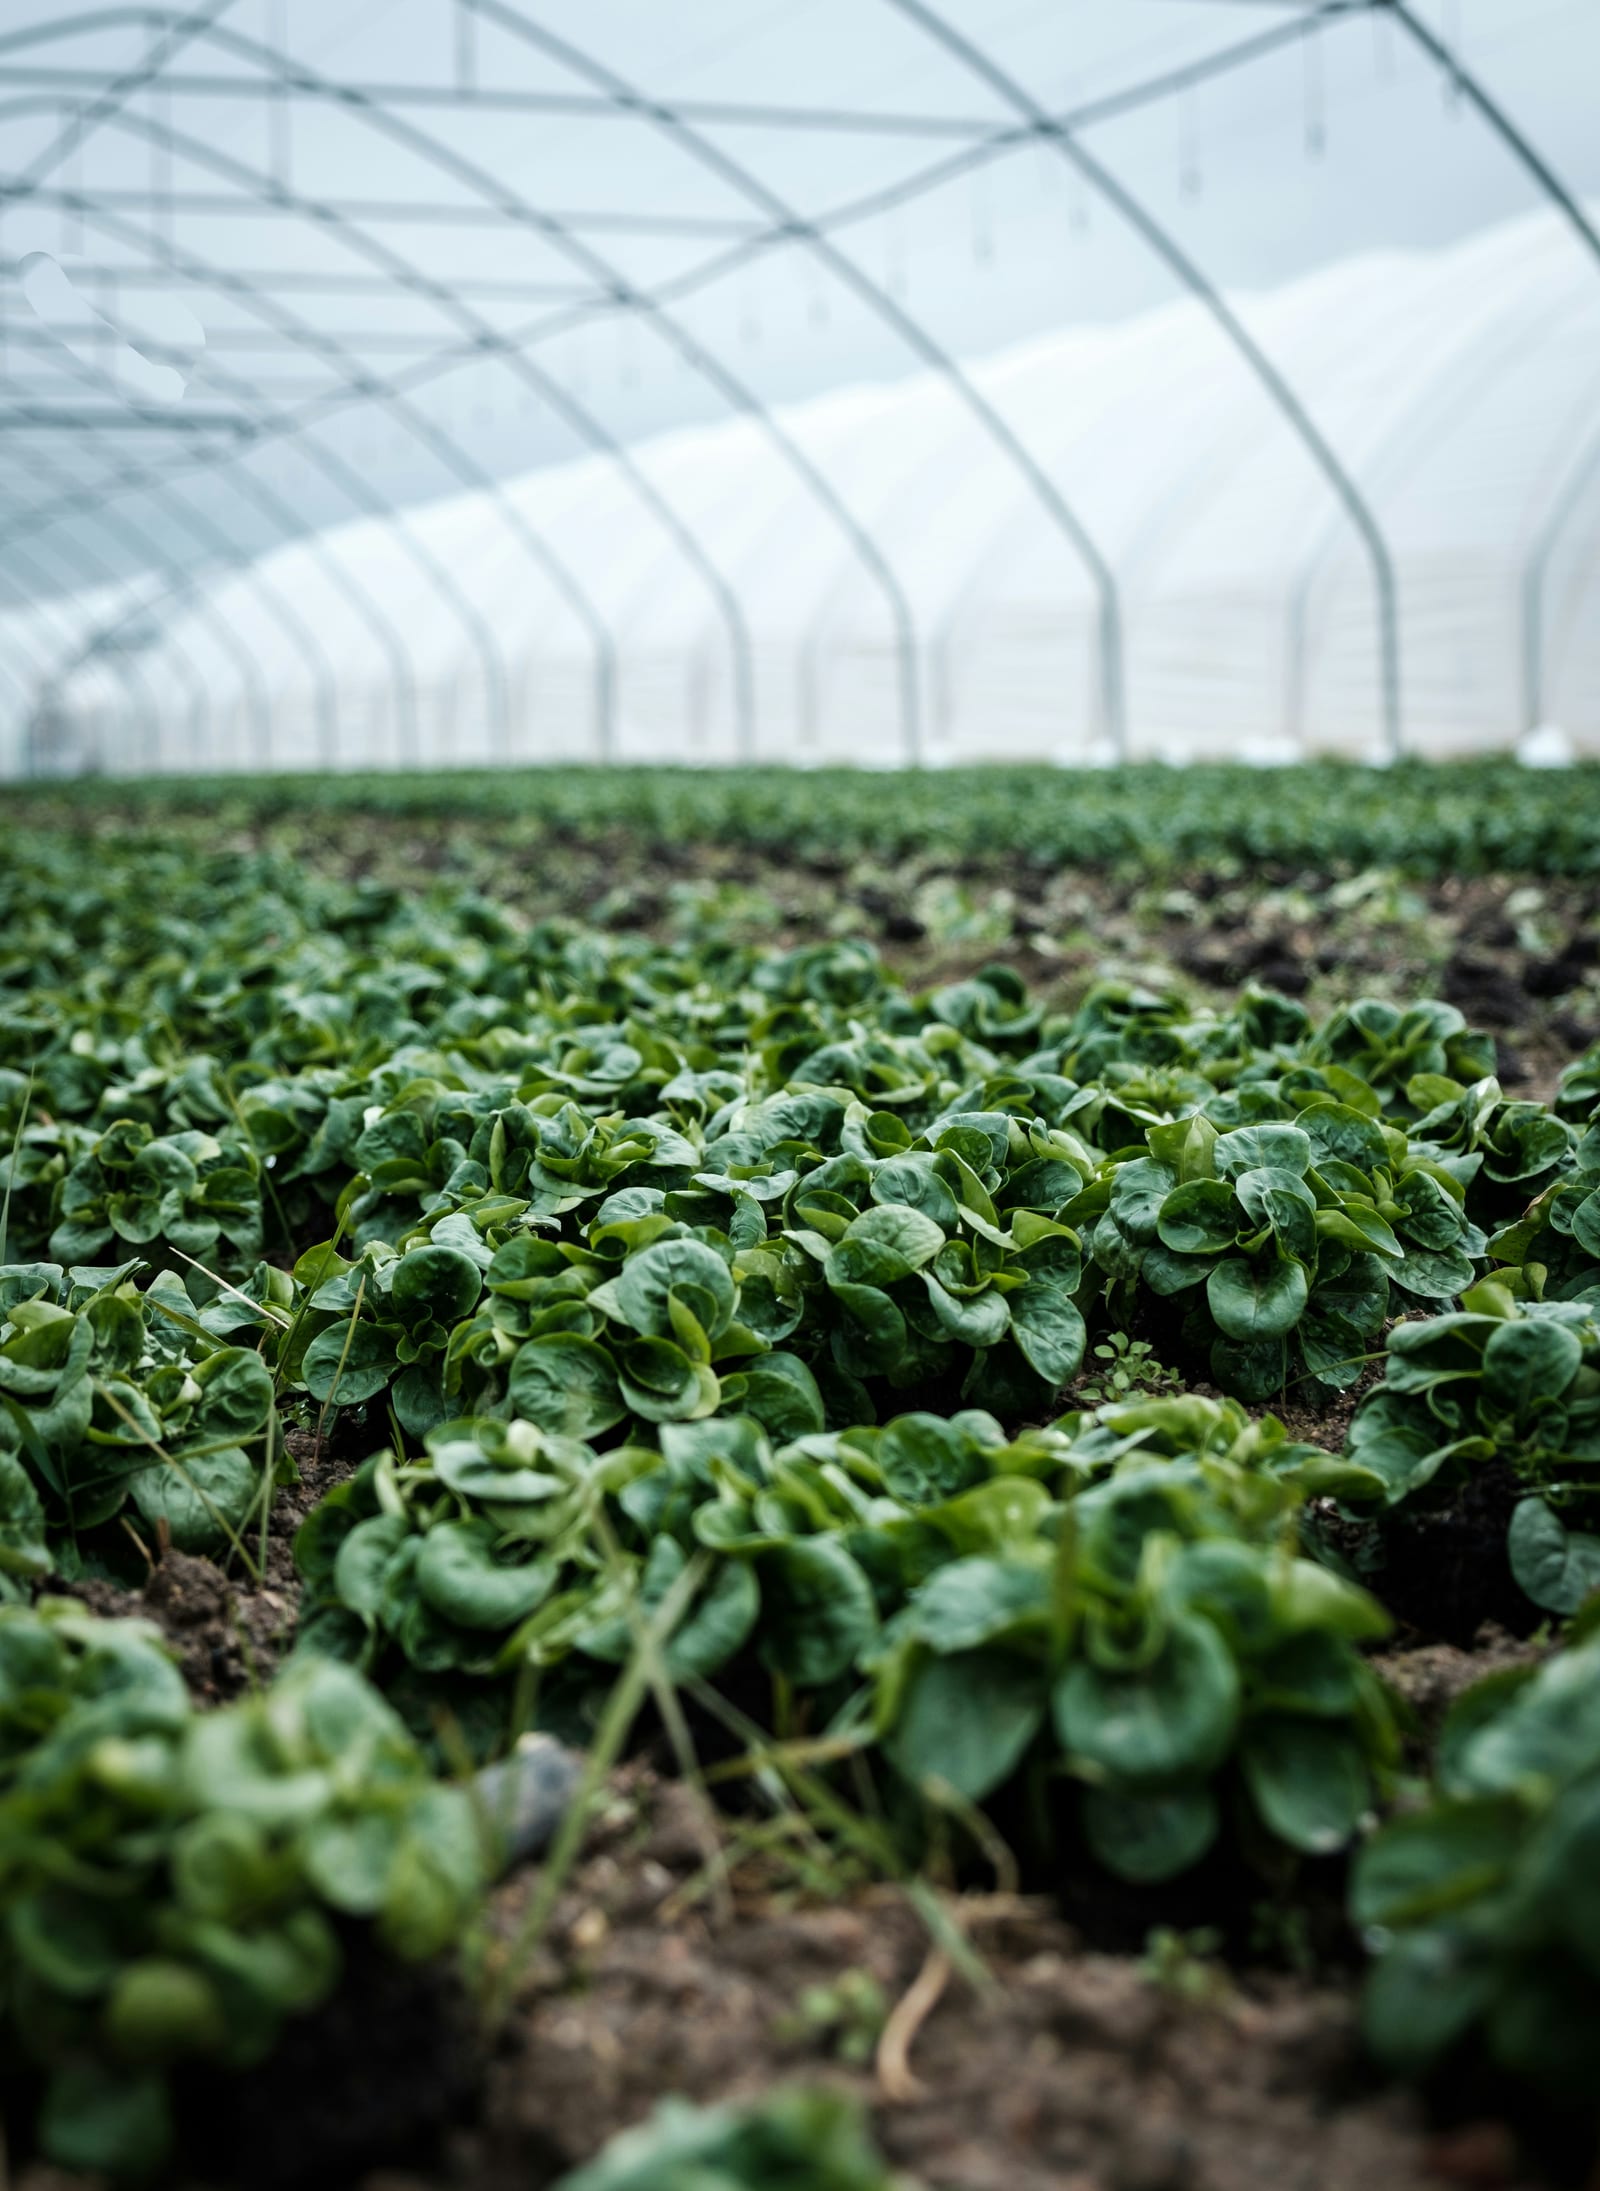
Tomatoes grow best at 70 to 80 degrees F (University of Georgia Cooperative Extension, verified June 2026). Large-fruited varieties stop setting fruit when nighttime temperatures exceed approximately 80 degrees F (University of Florida IFAS Extension, verified June 2026). Both thresholds sit well within the temperature range an unventilated greenhouse reaches on a warm spring day.
What roof vents do, and where they fall short
A roof vent opens at the ridge, the natural high point where hot air accumulates. When you also have intake vents positioned low on the opposite wall, cooler outdoor air enters near the floor, rises through the plant zone, and exits at the top. This thermal chimney works by convection and costs nothing to run.
The limit is the pressure differential driving the flow. On a hot calm day when outdoor temperature is 85 degrees F and the interior is 100 degrees F, the density difference between inside and outside air is small. Passive airflow stalls. Roof vents that work in April may be completely inadequate in July.
The Palram Canopia Hybrid ships with one or two auto vent openers included. The Exaco Riga includes one to four, depending on the model. Both are a solid start. But one or two passive roof vents, even with auto openers, are not a complete ventilation system for summer conditions or for greenhouses over about 150 square feet.
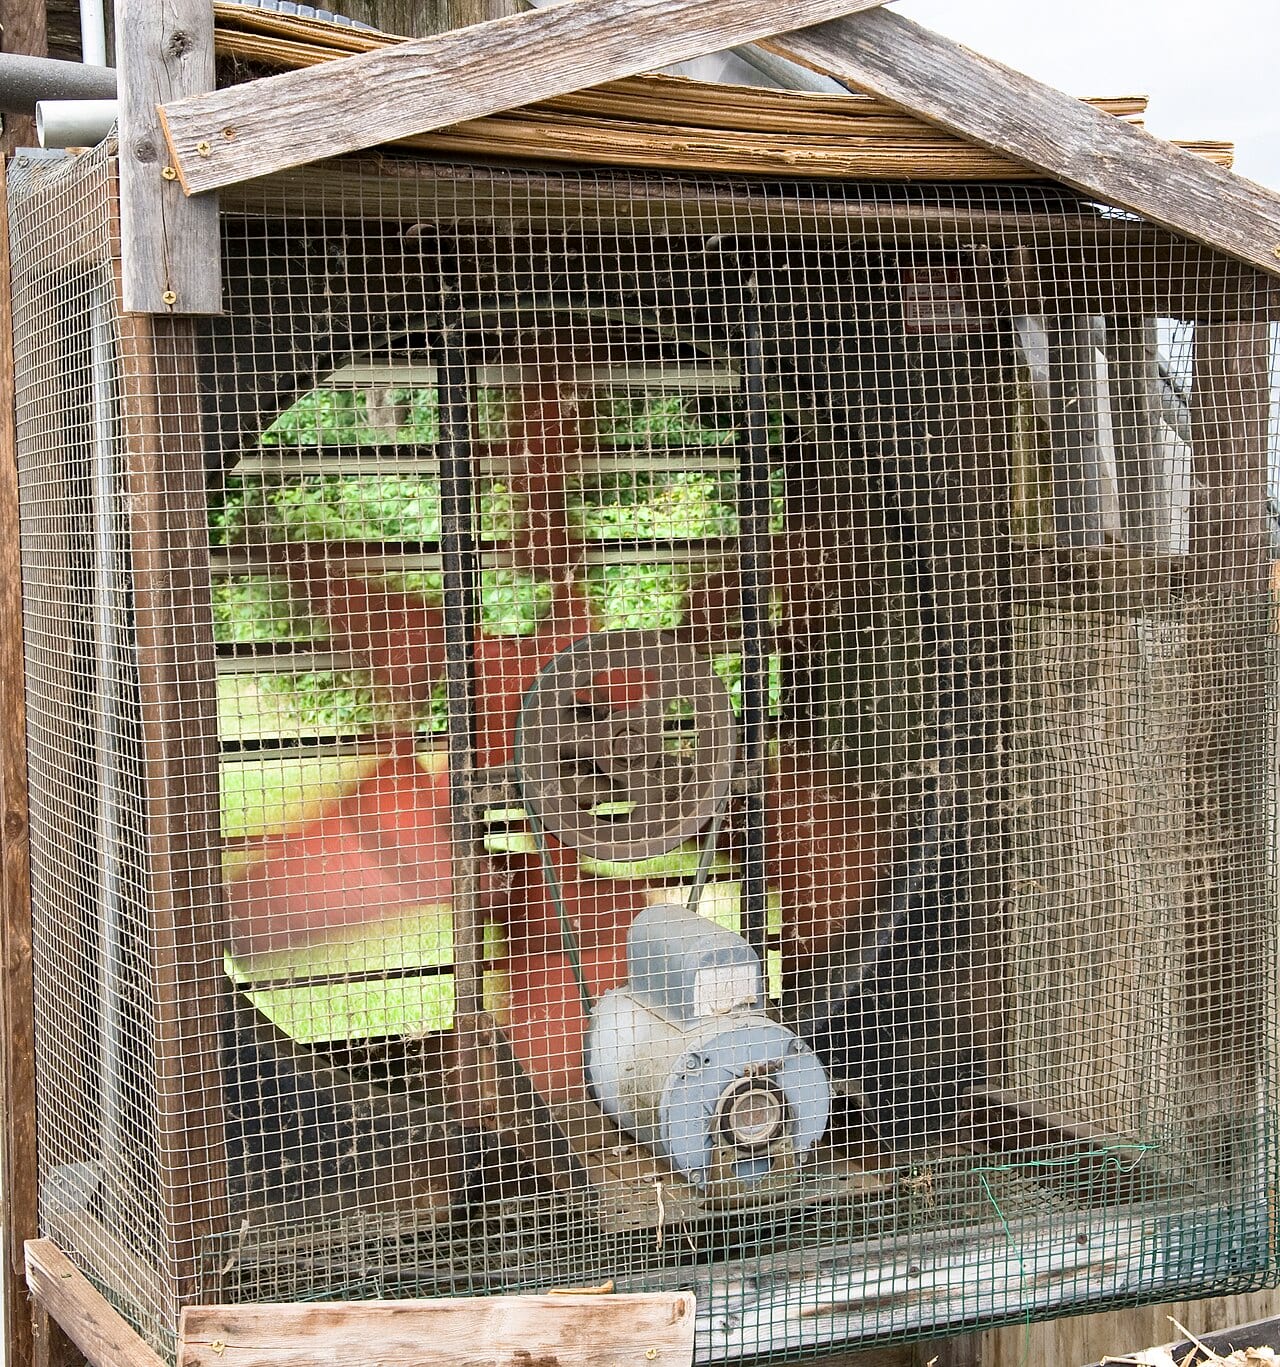
Wax cylinder auto vent openers: how the mechanism works
A wax cylinder auto vent opener is a compact actuator that attaches between the vent panel and the greenhouse frame. As the interior heats up, wax inside a sealed cylinder expands and pushes a piston outward. The piston lifts the vent. When temperatures drop, the wax contracts, the piston retracts, and the vent falls closed under its own weight. No electricity, no thermostat wire, no battery required.
Canopia describes the mechanism plainly in their kit documentation: “wax that expands with heat and contracts when it cools.” Their greenhouse kits start opening at 12 to 15 degrees C (approximately 54 to 59 degrees F), verified on the Canopia product page in June 2026. That threshold is low enough to respond to a warm spring morning before the interior reaches a temperature that stresses cool-season crops.
The aftermarket standard is the Bayliss MK7 automatic vent opener. It opens at 55 degrees F by default and is field-adjustable up to 75 degrees F using a hex bolt on the actuator body. Maximum vent opening is 12 inches. The force rating is 14 pounds, which handles most standard greenhouse vent panels. The housing uses corrosion-resistant materials: brass, stainless steel, and satin-anodized aluminum. Bayliss quotes a 2-year warranty on the actuator. These specifications were verified through Charley’s Greenhouse Supply in June 2026.
The 55-to-75-degree-F adjustment range matters more than most owners expect. A vent set to open at 55 degrees F starts releasing heat early in the morning before the interior climbs enough to stress seedlings. A vent set to 75 degrees F opens after the temperature is already high enough to slow growth on heat-sensitive crops. Set the threshold low, then spend a week monitoring actual interior temperatures before deciding whether to adjust upward for your specific crops.
Every greenhouse needs at least one auto opener per roof vent. A greenhouse over 8 feet wide benefits from two independent roof vents with independent openers, positioned on opposite sides of the ridge, to ensure airflow on calm days when a single-sided opening creates minimal draft.
Fan sizing: the volume formula
When passive ventilation cannot hold interior temperature below 85 degrees F, an exhaust fan handles the rest. The sizing formula, verified through Charley’s Greenhouse Supply in June 2026:
Greenhouse interior volume (cubic feet) x 0.75 = minimum fan CFM needed
That rate produces roughly one complete air exchange every 80 seconds. Common hobby greenhouse sizes work out as follows:
| Greenhouse size | Est. interior volume | Minimum CFM | Buy this fan size |
|---|---|---|---|
| 8 x 10 x 7 ft | 560 cu ft | 420 CFM | 585 CFM |
| 10 x 12 x 7.5 ft | 900 cu ft | 675 CFM | 975 CFM |
| 12 x 20 x 8 ft | 1,920 cu ft | 1,440 CFM | 1,900 CFM |
Always buy one size tier above the formula minimum. Manufacturer CFM ratings are measured at free-air conditions with no restrictions on either side. Mounted in an end wall with a shutter on the intake side, real-world airflow drops 10 to 20 percent below the rated number. A fan sized exactly to the formula minimum runs at the margin on the hottest afternoons when it is needed most.
Standard hobby greenhouse fans run on 120V, draw 1 to 3 amps, and connect to a thermostat that triggers them at a set temperature. Running 2 to 4 hours per day in season, the operating cost is minimal. Single-speed fans handle most applications under 1,000 CFM. For larger greenhouses or climates where summer pushes interior temps past 95 degrees F routinely, a two-speed fan provides a lower-speed setting for mild conditions and full power for peak demand.
Intake shutter sizing
The exhaust fan needs an open intake path. Without one, the fan works against a partial vacuum and moves far less air than rated. The companion formula, also from Charley’s Greenhouse Supply:
Fan CFM / 250 = required intake shutter area in square feet
A 975 CFM fan needs 3.9 square feet of intake area. Two louvered intake vents, each 24 by 12 inches (2 square feet each), cover that requirement. For greenhouses over 8 feet wide, place one shutter on each side wall near the ground level, positioned symmetrically, to prevent stagnant pockets where air sits without being flushed.
The intake vents belong on the end wall opposite the exhaust fan, as low as practical. Cool outdoor air enters near the floor, warms as it rises through the plant canopy, and exits at the ridge via the fan. That low-in, high-out cross-flow path is the effective pattern. Placing intakes at the same height as the exhaust fan on the same wall produces turbulent mixing rather than a directional sweep through the plant zone.
Fan mounting position
Mount the exhaust fan high on one end wall, as close to the ridge as the frame allows. The shutter on the exhaust fan closes automatically when the fan stops, preventing cold air from infiltrating through a passive hole in the structure on winter nights.
Two common mounting errors undercut fan performance significantly. Mounting the exhaust fan in the middle of a side wall leaves hot air trapped at the ridge. Mounting it low in the end wall expecting it to pull warm air off the floor does the same. The fan must be at the highest practical point on one end wall to access the air that is actually overheating the space.
A separate small circulation fan, running continuously on low speed, moves air through dense plantings and reduces fungal disease by preventing humid stagnant pockets. It is not a substitute for the exhaust fan. Both have specific jobs and they do not overlap.
Shade cloth as a companion tool
Ventilation removes heat that is already inside the greenhouse. Shade cloth reduces how much heat enters in the first place. Both belong in the toolkit for summer growing.
A 30 to 40 percent shade cloth deployed on the south and west faces of a polycarbonate greenhouse cuts solar gain without eliminating the diffuse light crops need. A reflective option like Aluminet shade cloth bounces heat away rather than absorbing it, which keeps the fabric itself cooler than a dark knit. It is particularly useful in zone 7 and warmer, where summer ambient temperatures push interior temps above 95 degrees F even with a correctly sized exhaust fan running. Shade cloth reduces the fan’s workload and extends the temperature range where growing is viable. It does not substitute for ventilation on its own.
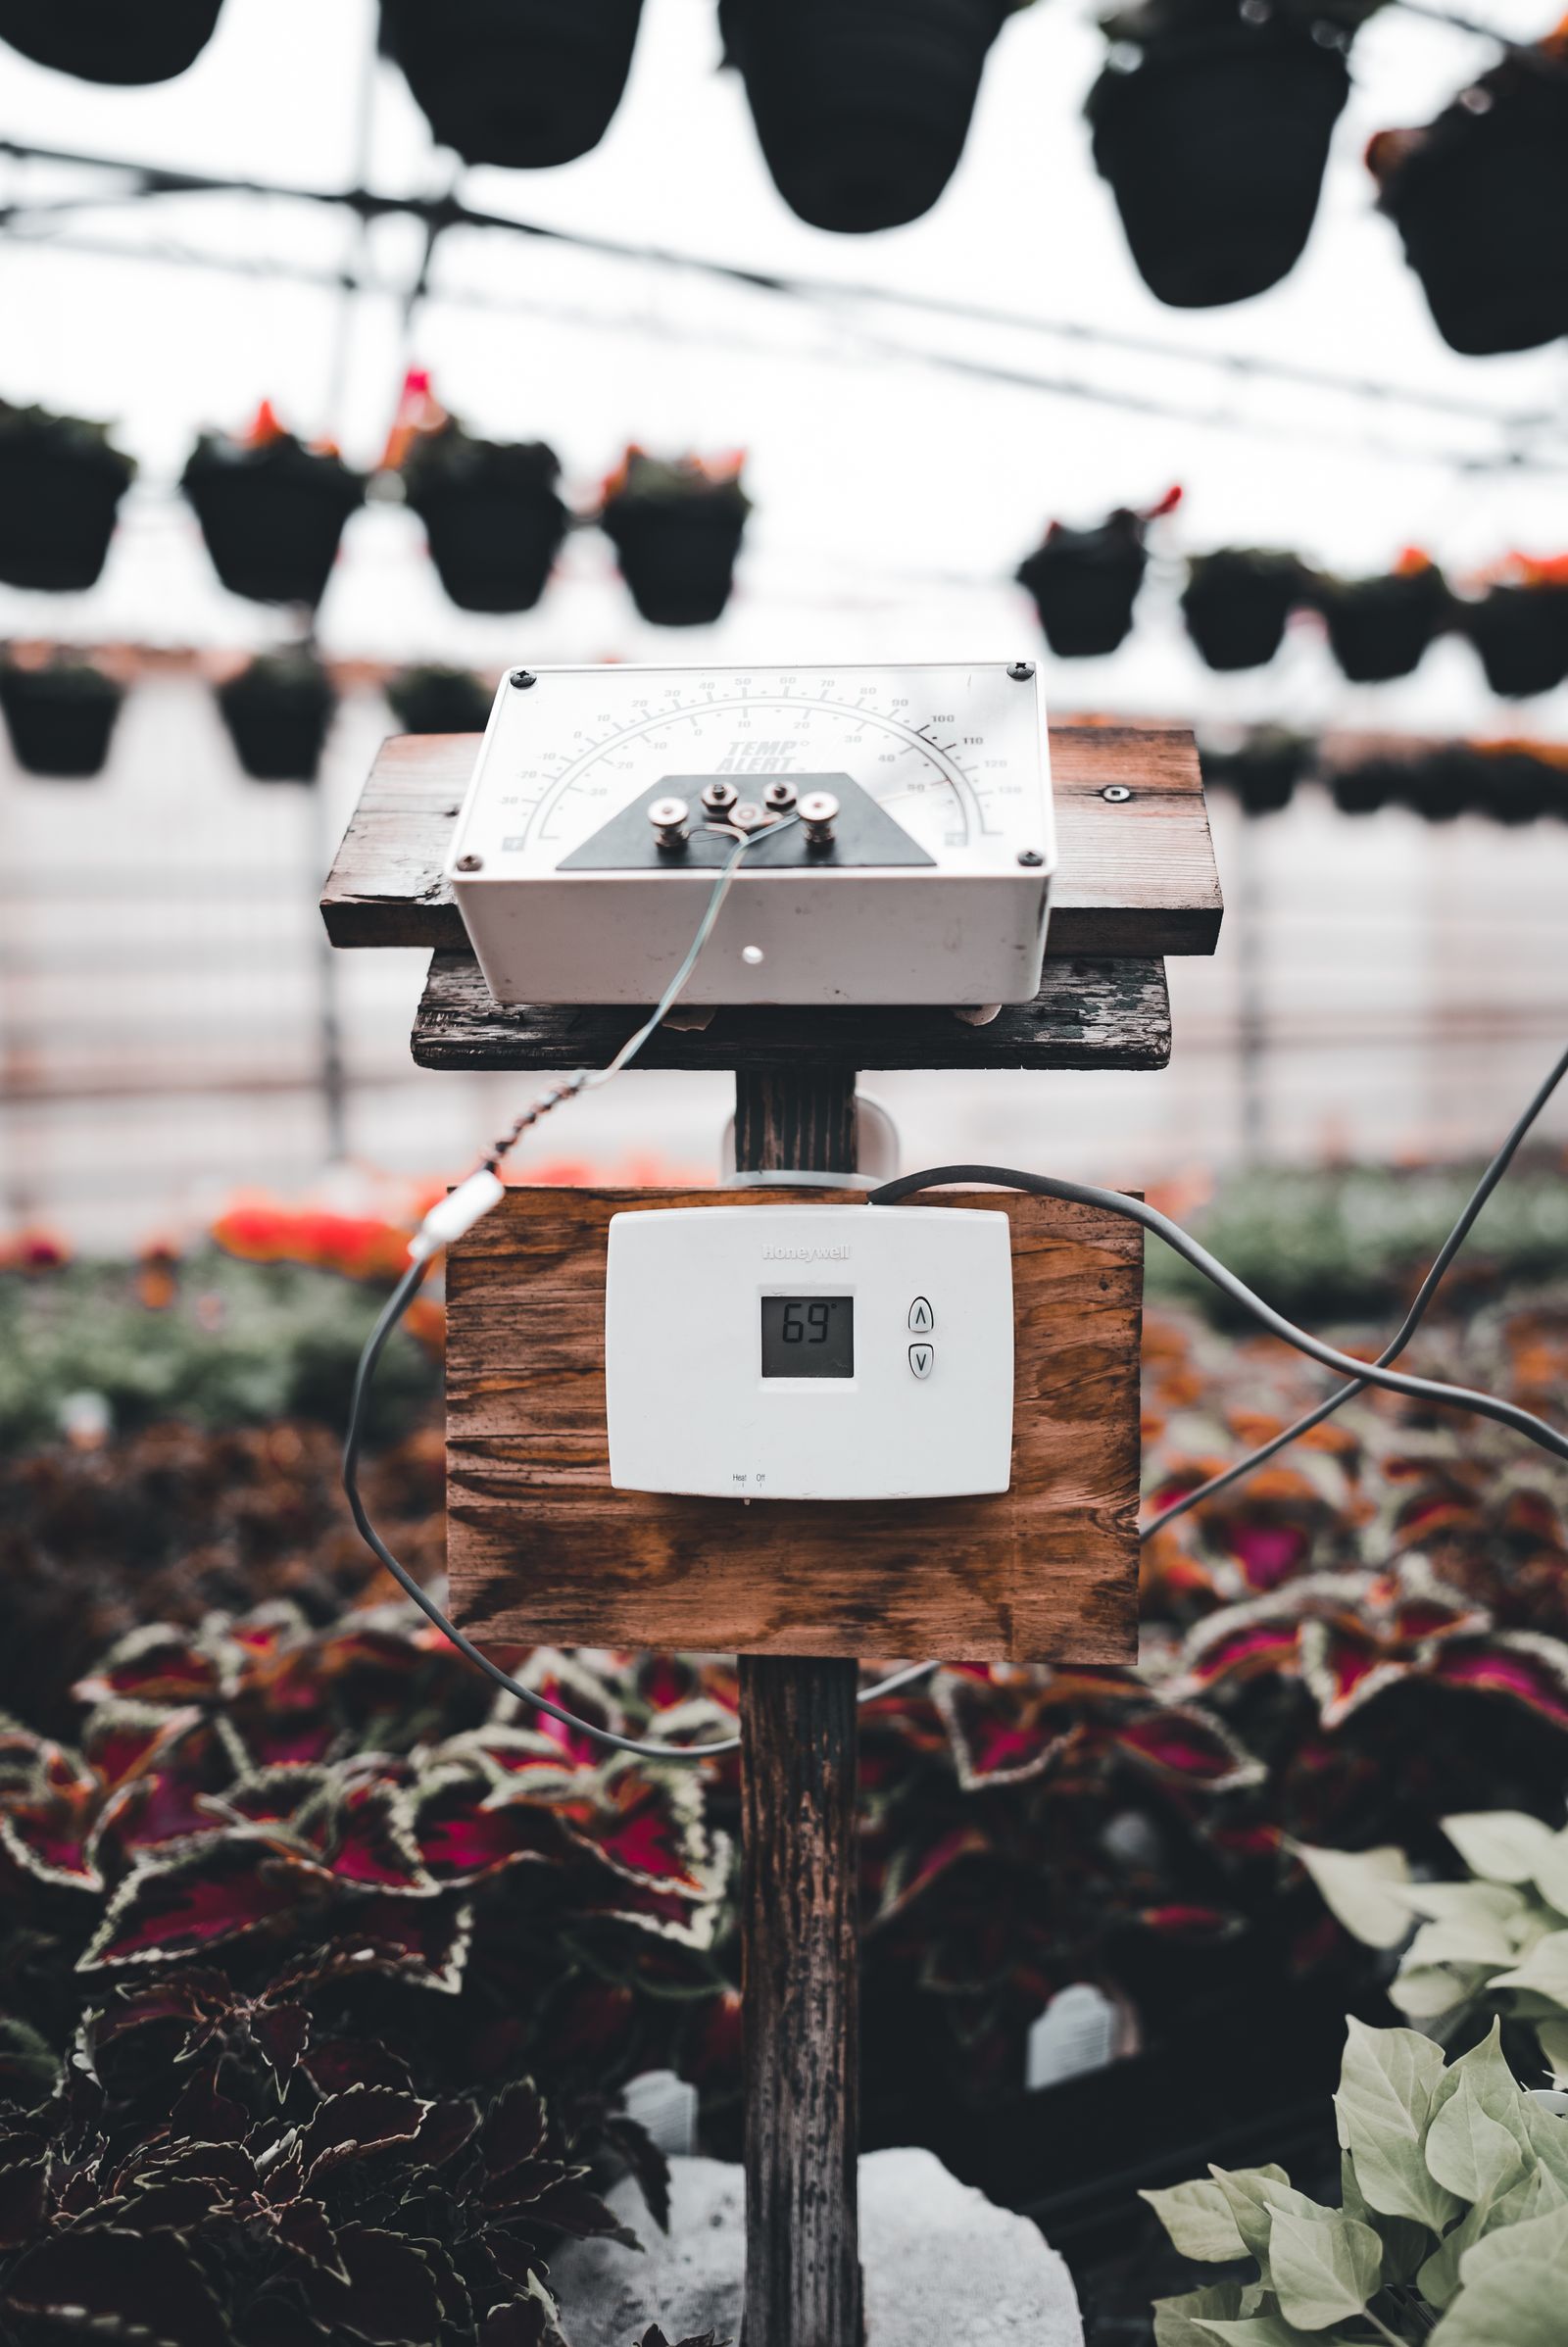
Monitor the actual temperatures before trusting the system
Before relying on a fan thermostat and auto vent opener to manage the greenhouse without regular manual checking, spend one week with a min/max thermometer to understand what the structure is actually doing. The probe belongs at plant canopy level inside, away from direct sunlight, reading the temperature experienced by leaves rather than the temperature at the apex of the roof or the thermostat wall sensor.
Record the daily high and low inside the greenhouse against the outdoor temperature on the same day. The relationship surprises most new greenhouse owners. The interior commonly climbs 30 to 40 degrees F above outdoor ambient on a sunny day before the fan thermostat triggers, which means a 55-degree-F outdoor morning can produce a near-95-degree-F interior by midmorning if the thermostat is set to kick on at 80 degrees F.
That one week of actual temperature data is worth more than any formula. Adjust the fan thermostat setpoint and the auto vent opener threshold based on what the thermometer actually shows, not on what the formula suggests the temperature should be.
Zone notes
Zone 3 through 5: Overheating is a shoulder-season problem concentrated in April and September. Summer ambient temperatures are moderate enough that a correctly sized exhaust fan and roof vents together typically hold interior temperatures below 90 degrees F on all but the hottest days. The ventilation system earns its keep in the weeks between the last frost date and settled warm weather, when solar intensity is high but outdoor air is still cold enough to confuse an owner into thinking overheating is not a risk.
Zone 6 through 7: Ventilation season runs from April through October. An exhaust fan thermostat set to 75 to 80 degrees F will run most of the day in July. A two-speed fan offers a practical advantage here because low-speed air circulation on a mild spring morning is different from the full-power flush needed on a 95-degree-F July afternoon. The cheap greenhouse heating guide covers the other half of the temperature management equation.
Zone 8 and warmer: Summer growing inside a polycarbonate greenhouse is difficult regardless of fan capacity. The standard approach at this latitude combines a high-rated exhaust fan, 40 percent shade cloth on the south and west walls, and heat-tolerant varieties selected specifically for high-temperature fruit set. Most zone-8 growers run their primary production in fall and spring, keeping the greenhouse lightly used through July and August, and return to serious growing when nights cool below 75 degrees F in September.
For growers considering a high tunnel as an alternative, ventilation management in a high tunnel works on the same principles but is simpler: roll-up sidewalls replace the intake vent calculation entirely, and the issue shifts to how much of the side you roll up on hot days.
The bottom line
An auto vent opener handles mild sunny days with no intervention. A correctly sized exhaust fan handles the days when passive airflow is not enough. Together, they convert a polycarbonate greenhouse from a seasonal liability into a reliable tool across a much longer growing window. A correctly ventilated greenhouse in zone 5 runs from late February through November. An unventilated one kills everything in April on a warm afternoon when nobody was home to open the vent.
Size the fan by the volume formula. Set the auto vent opener to a low threshold. Install a min/max thermometer and check the actual readings for one week after setup. That is the whole system.
Accessories worth buying on day one
A short list of the gear that keeps a greenhouse from cooking on the first bright spring afternoon.
- Shutter exhaust fan with thermostat: the powered exhaust that takes over when passive roof vents stall on a hot calm day, sized one tier above the volume formula.
- VIVOSUN AeroWave clip-on fan: a small circulation fan that runs continuously to break up stagnant pockets and reduce fungal disease in dense plantings.
- Inkbird ITC-308 temperature controller: a plug-in thermostat that triggers the exhaust fan at your chosen setpoint instead of leaving it running or off.
As an Amazon Associate, Defy Frost earns from qualifying purchases.