Field guide Guides 10 min
Greenhouse Site Selection: Sun, Wind, and Drainage
Fifteen mph winds can double greenhouse heat loss. The site checklist covering sun hours, orientation, slope, and utility access before you buy a kit.
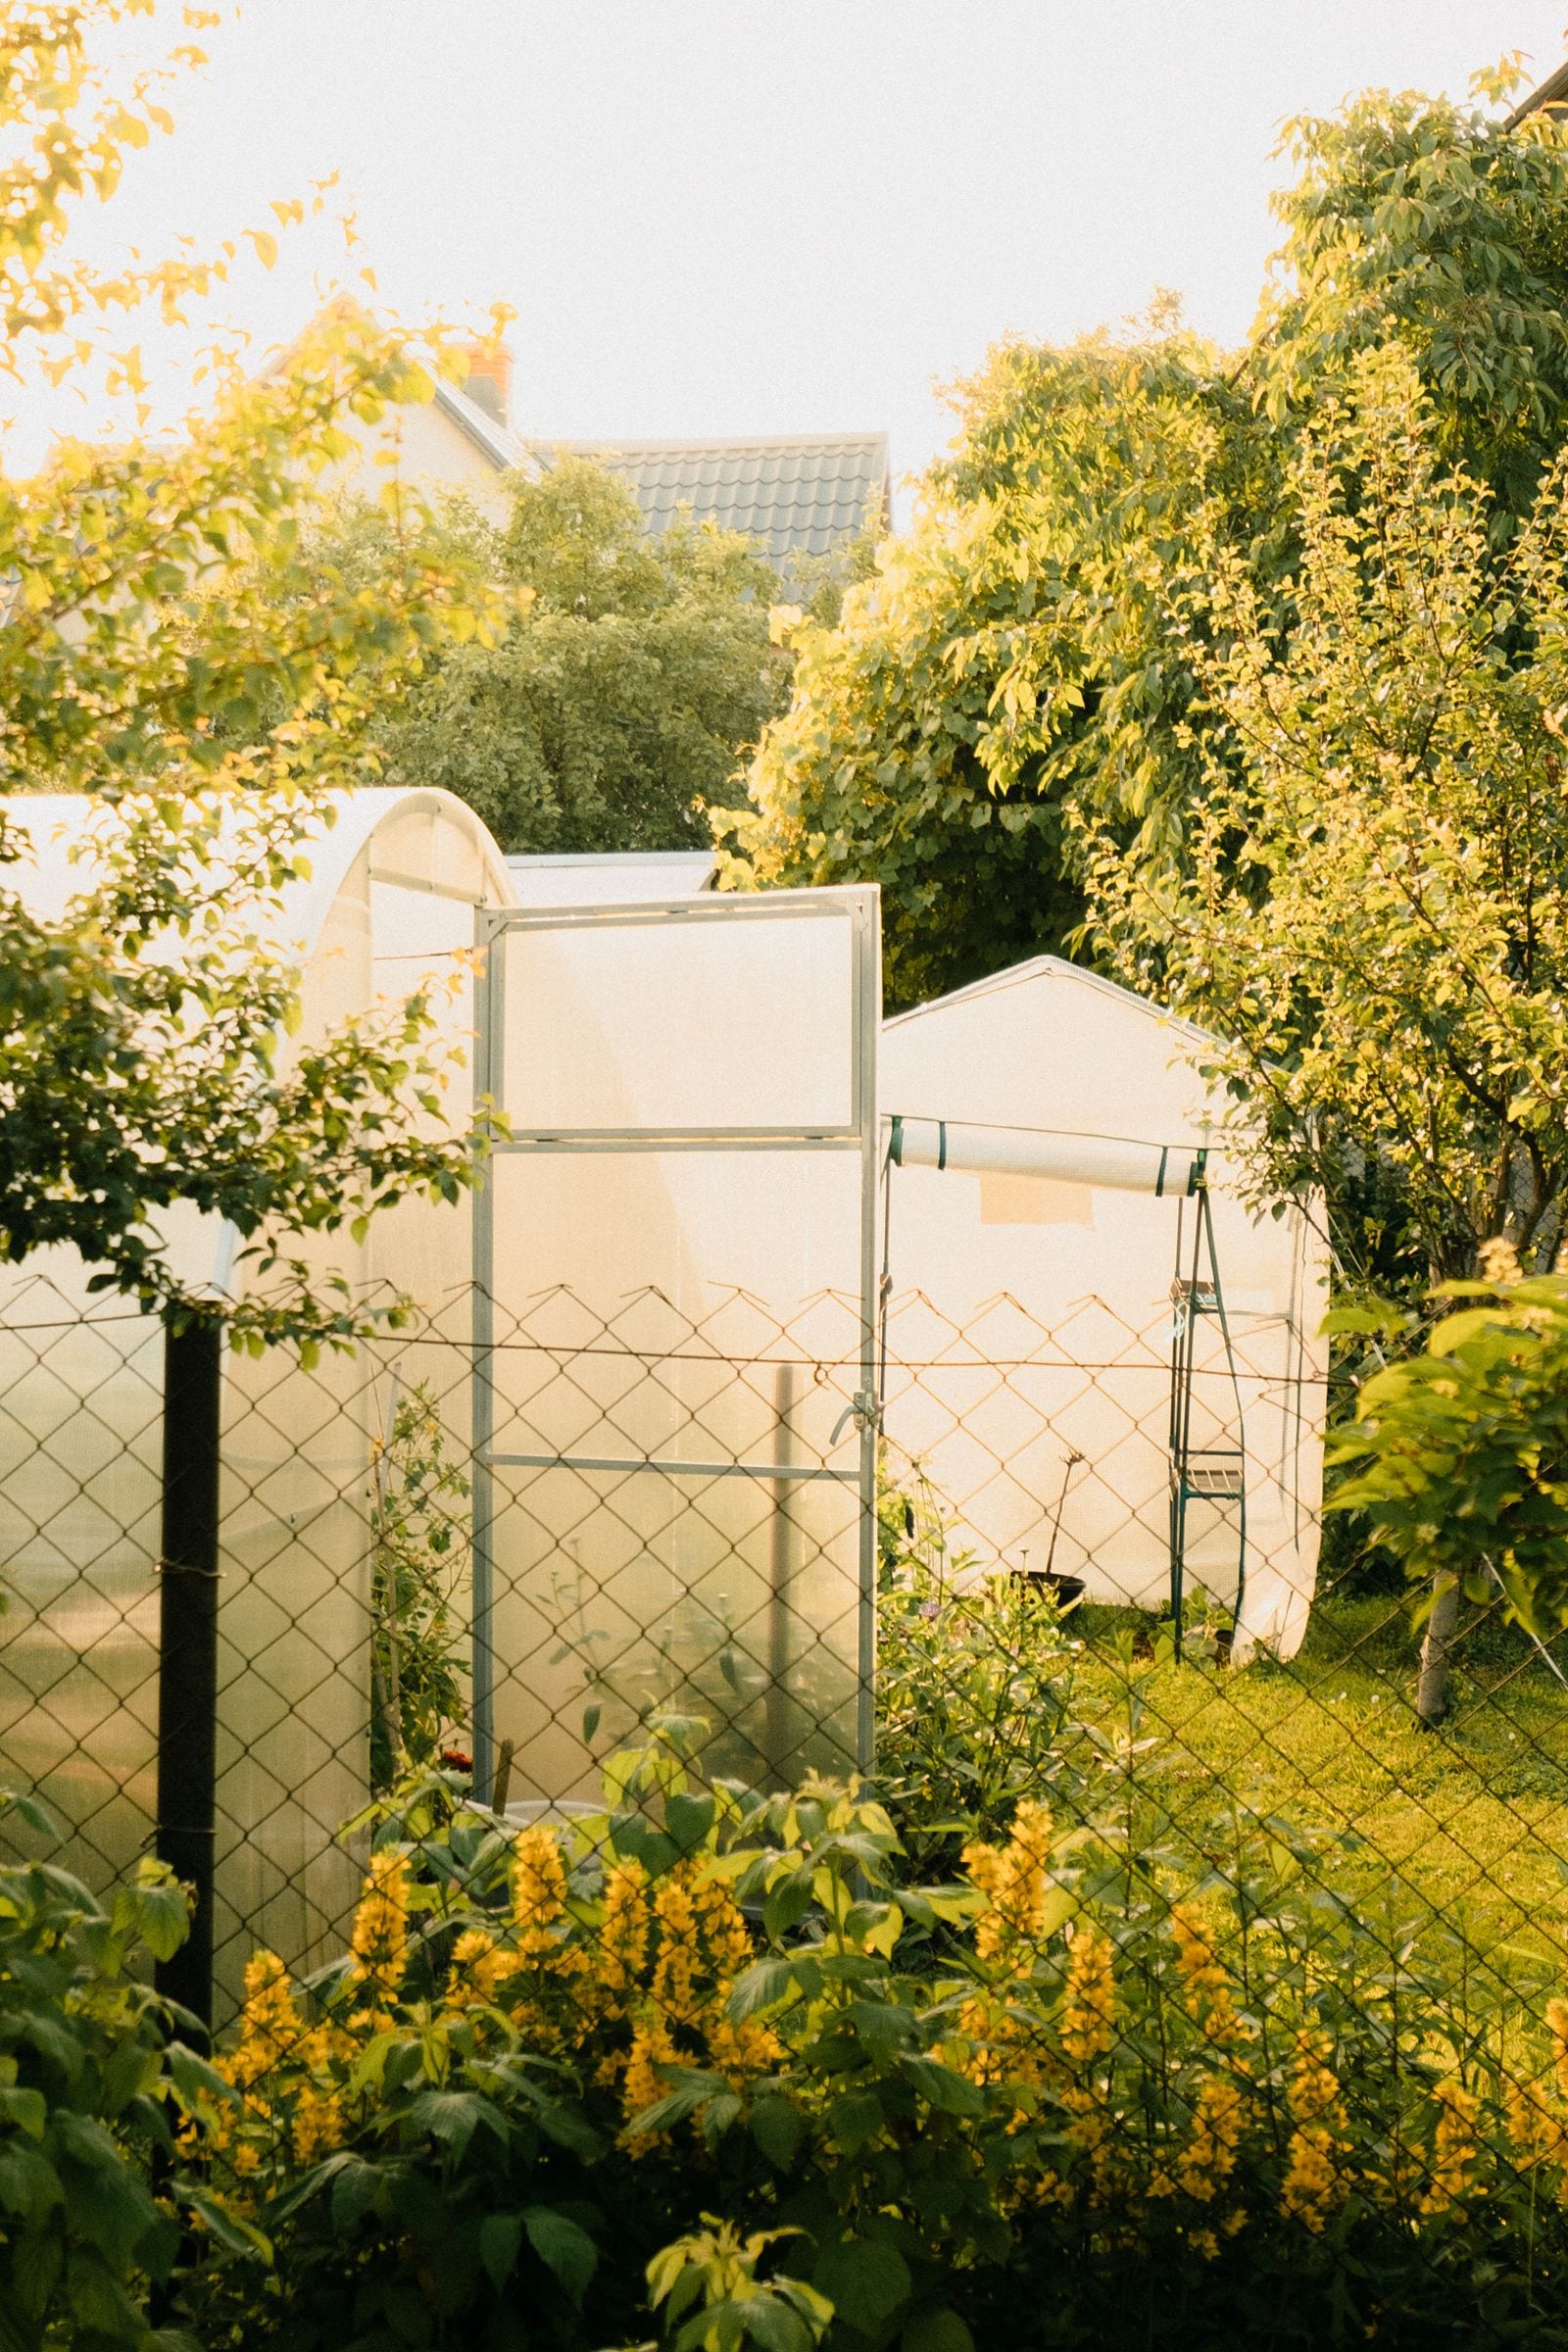
A greenhouse needs at least six hours of direct sun daily, a southern or southeastern exposure with the ridge running east to west, ground that slopes no more than five degrees, and water within garden-hose reach. These four conditions determine whether a greenhouse earns its keep or fights its site for years.
The site decision is permanent. A heater can compensate for a cold night, and a shade cloth can reduce summer heat, but no modification fixes a greenhouse that sits in the wrong location.
Sun: the non-negotiable first requirement
Sun is the limiting resource. Every other site factor is a constraint to manage; low sun is a defect that compounds through every season.
The minimum threshold for dormant or resting plants is six hours of direct sunlight per day. Actively growing crops need more, and fruiting crops (tomatoes, cucumbers, peppers) need as much direct light as the site can deliver. The practical target is full sun throughout the daylight hours.
The complication is winter. A site that provides eight hours of unobstructed sun in July may provide four hours in December because the sun’s arc is lower and shorter. Structures, trees, and terrain that cause no problem in summer can cast deep shadows across a greenhouse in January, exactly when solar gain matters most.
A shadow study is the most useful tool for choosing between candidate sites. Observe the site in November or early December, around the winter solstice, and note where shadows fall throughout the day. A site with morning shade from a house to the east loses the hours when cold greenhouses need the most warming. A site with afternoon shade from trees to the west loses the hours when a greenhouse needs to build thermal mass for overnight temperature retention.
Deciduous trees lose their leaves in fall and provide much less shade in winter than they appear to in summer. An ash tree that shades your intended site in August may cast almost no shadow in January. Evergreens are a different calculation: conifers to the south or southwest create year-round shade that will cost you growing weeks every winter.
Orientation: which direction the roof ridge should face
In the northern hemisphere, the standard recommendation is to run the roof ridge east to west, with the longest glazed wall facing south. This orientation keeps the south wall perpendicular to the sun’s winter arc, which is the lowest it will be all year. The south wall catches morning light and afternoon light through the full winter day.
The climate zone determines how strict this requirement is:
- Zones 6 and colder: East-west ridge is the correct choice. Winter sun is scarce enough that orientation loss is not recoverable by other means. A greenhouse that faces even slightly southwest instead of due south loses meaningful light on winter mornings.
- Milder climates (zones 7 and warmer): A north-south ridge orientation becomes viable. Both long walls receive several hours of sun from east and west, which provides more even light for summer crops like tomatoes. Ventilation may be slightly better with a north-south orientation.
Avoid placing a greenhouse so that the ridge runs directly north-south in a cold climate. The south-facing end wall is a small surface that catches less light than the long south wall would, and the east and west walls receive sun for only half the day each.
If a perfect south-facing site is not available, a southeast exposure is the next best option. Southeast loses some late-afternoon winter light but retains the critical morning warming period when the greenhouse is coldest after an overnight low.
Wind: the heat thief that multiplies your energy bill
Wind is the second major site factor, and it often receives less attention than sun. Greenhouse Management guidance cites this specific figure: 15 mph winds can double heat loss in a greenhouse. Even a well-sealed polycarbonate structure loses heat faster under wind pressure than in still air because wind increases convective heat transfer through the glazing and exploits any gaps around door frames, vent seals, and base plates.
The implication for site selection is to avoid exposed ridges, open hilltops, and positions between structures that create a wind tunnel effect. A greenhouse at the edge of an open field in a known wind corridor will need a significantly larger or better-insulated heating system than the same structure in a sheltered position, and a set of auger ground anchors to keep the frame from lifting if the site cannot be sheltered.
Windbreaks to the north and northwest block the coldest prevailing winds. In most of North America, cold air comes from the north and northwest in winter, and a windbreak on those sides reduces infiltration without creating shade problems. Trees or hedges on the south side block sun and defeat the purpose of siting south-facing; windbreaks work best when they are on the cold-air side only.
The distance rule for windbreaks: a windbreak is most effective at a distance of roughly five to ten times its height on the leeward side. A six-foot fence or hedge shelters the area from the fence to about 30 to 60 feet downwind. Place the greenhouse within that effective shelter zone, but far enough from the windbreak itself that the structure does not fall into the windbreak’s shadow during winter afternoons.
The greenhouse heating guide covers the BTU math for calculating how much wind exposure changes heating requirements. A site that requires 50% more heat than average because of persistent wind increases operating costs for every year the greenhouse sits there.
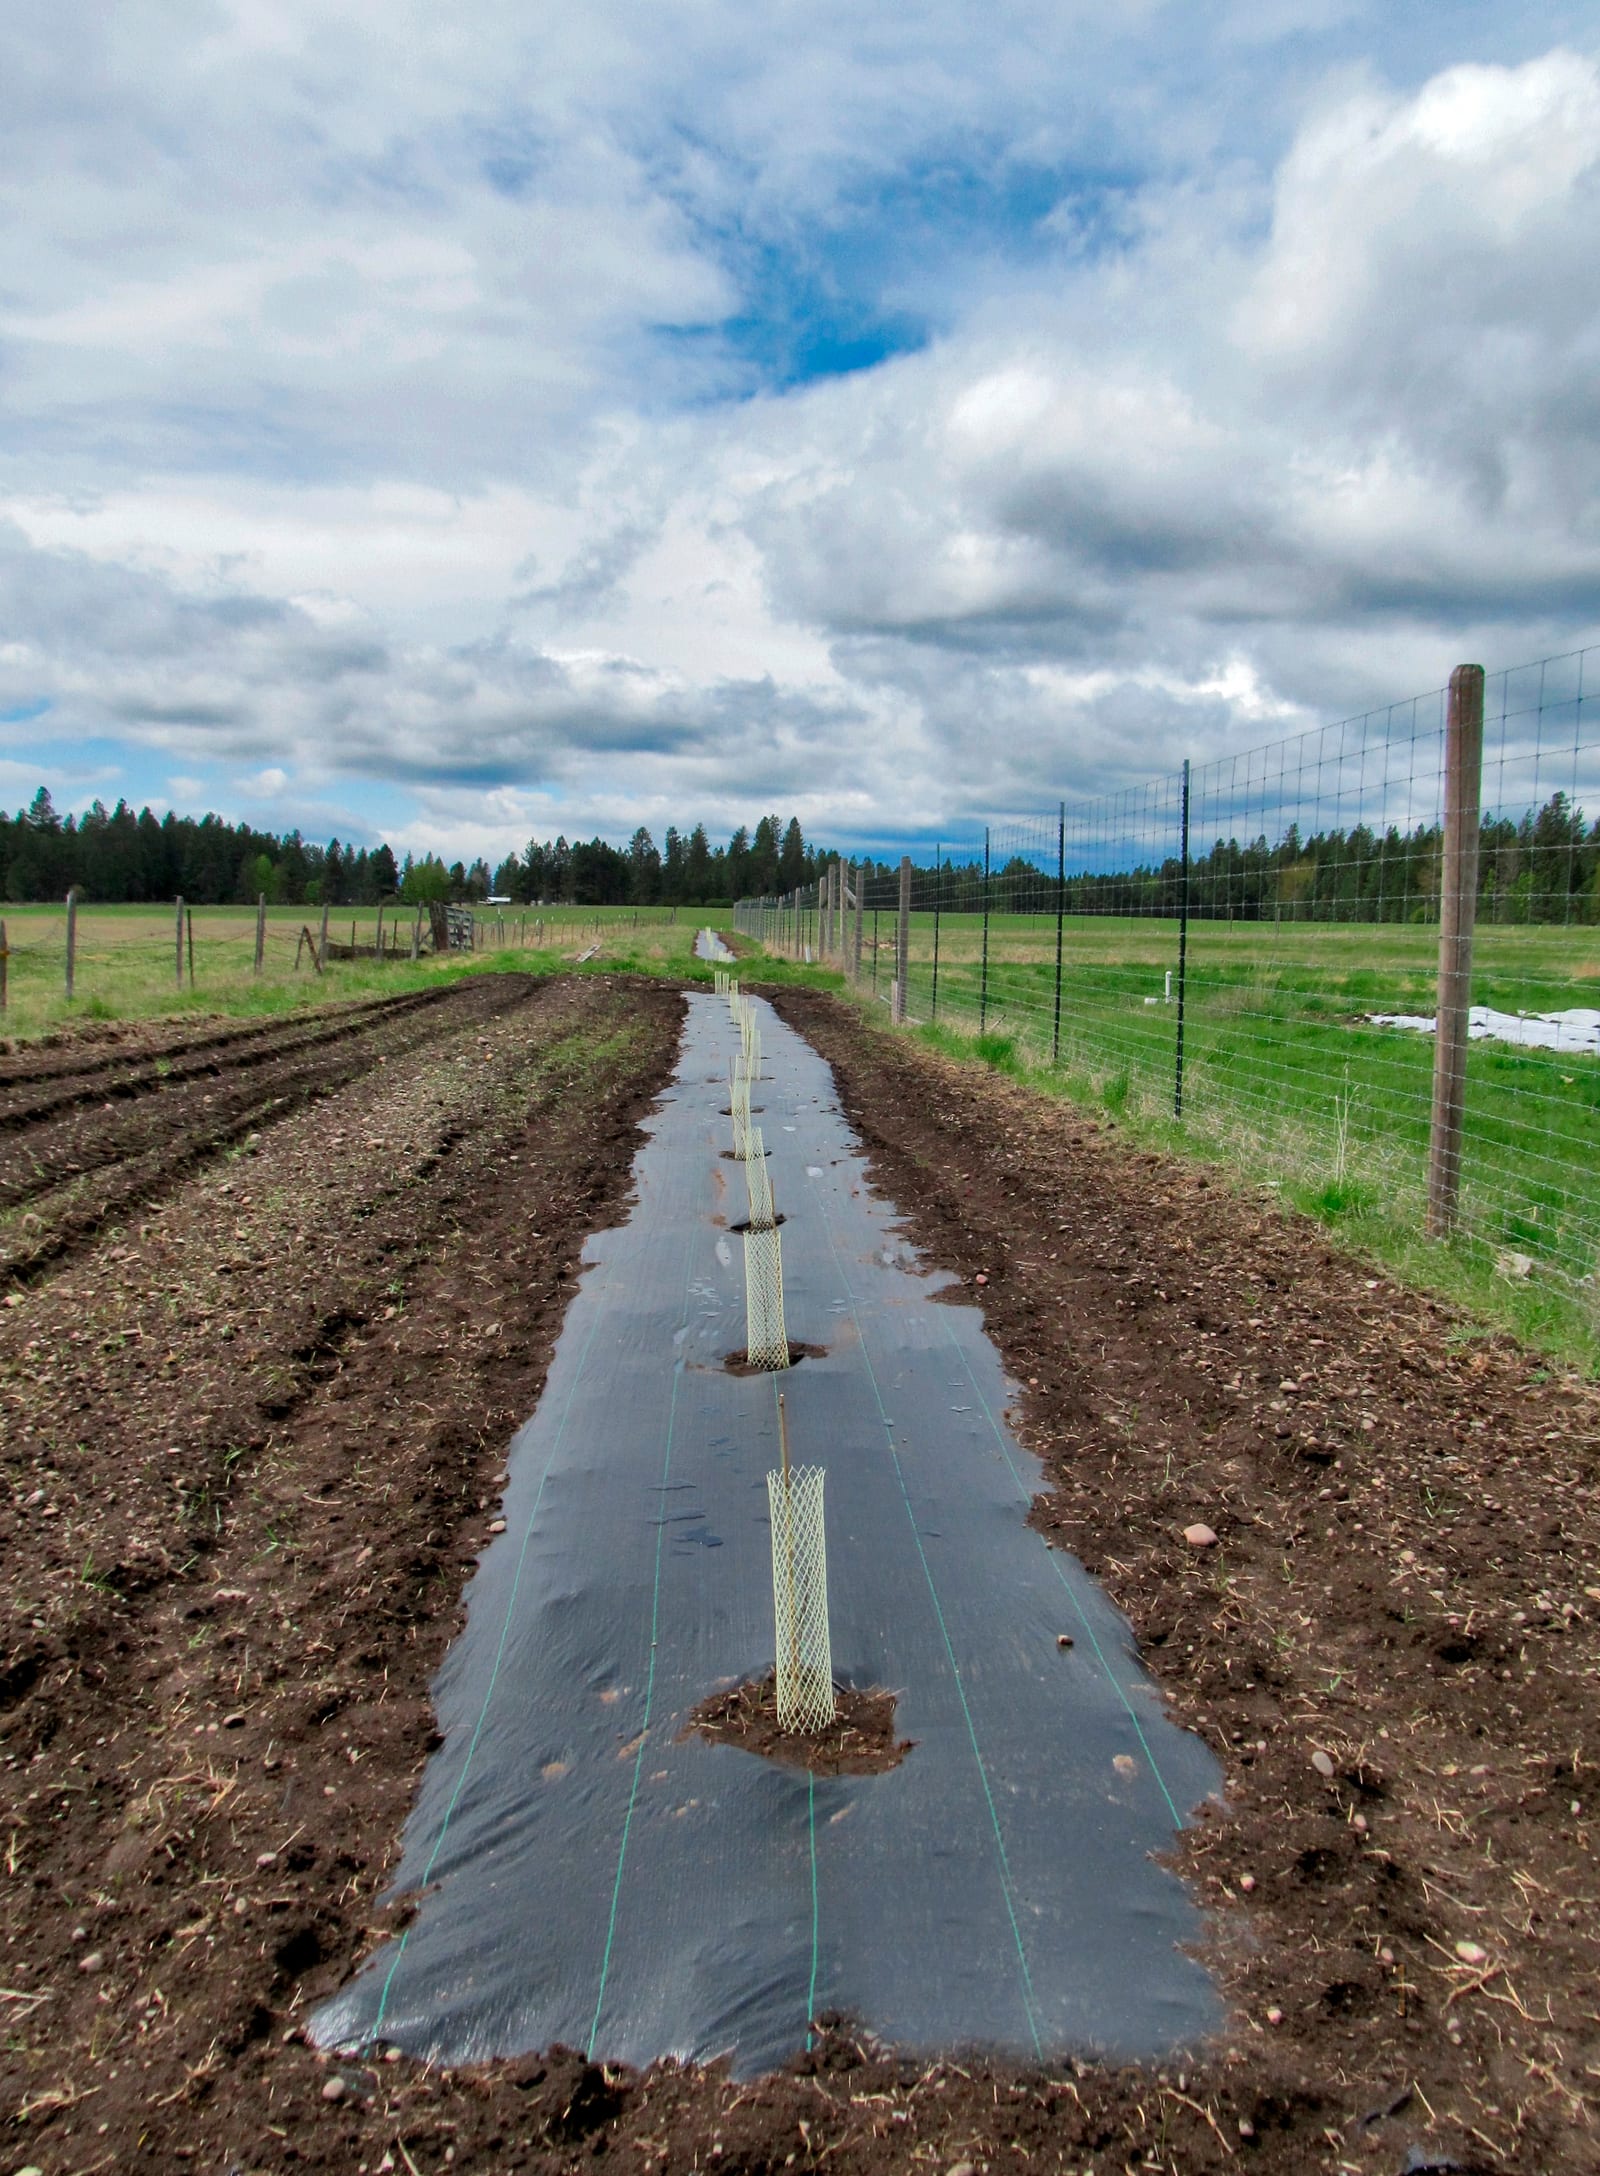
Slope and drainage: what level ground actually means
Greenhouse floors are not perfectly flat, but the site needs to be close enough to level that a foundation can be built without expensive grading or retaining walls. University of Massachusetts Extension guidance for greenhouse siting recommends a gentle 1% to 2% slope for drainage of rain and runoff from the base of the structure. Bootstrap Farmer advises against any grade steeper than 5 degrees, which works out to roughly a 6-inch drop over 100 feet of horizontal distance.
Beyond those limits, site preparation costs escalate:
- Slopes from 5 to 10 degrees require grading on one side and a slightly elevated base on the other, which increases foundation cost and complexity.
- Slopes steeper than 10 degrees typically require retaining walls, drainage tile, and leveling fill that can cost more than a mid-range greenhouse kit.
Avoid low-lying areas and depressions. Water pools in low spots, and a greenhouse sited at the bottom of a slope or in a frost pocket accumulates standing water after rain events, has poor cold-air drainage in winter (cold air is dense and settles into depressions), and requires more drainage work to keep the interior dry.
The best sites are gentle, south-facing slopes: enough incline that rainwater drains away from the foundation and cold air drains downhill, but not so steep that site preparation becomes its own project. The greenhouse foundation guide covers how different foundation types respond to slope, from treated lumber perimeter bases to concrete piers.
Water and electrical access
Water is the most-cited utility in greenhouse site selection guidance, and for good reason. University of Massachusetts Extension estimates that a fully stocked greenhouse requires approximately 0.3 gallons of water per square foot of growing space per day during the active growing season. A 100-square-foot greenhouse needs 30 gallons per day when fully planted. Carrying that by hand or running multiple hoses through a door and across a yard is manageable for a day, exhausting over a season.
The practical standard is a permanent water connection within the greenhouse or a hose bib close enough that a single garden hose reaches every growing area. If the intended site requires running water more than 50 to 75 feet from the nearest tap, the cost of running a buried irrigation line to the site is worth adding to the build budget.
Electrical access follows a similar logic. Most greenhouses run at least one of these: a circulation fan, a thermostat-controlled vent opener, a heat mat for propagation, or a space heater for cold nights. Running an extension cord through the door is a temporary solution that becomes a trip hazard, a fire risk if the cord is not rated for outdoor use, and a nuisance in rainy weather. A dedicated circuit to the greenhouse is the right long-term setup. The greenhouse electrical guide covers GFCI requirements and wiring options for getting power from the house to the greenhouse permanently.

How far from the house?
The conventional wisdom is to site a greenhouse as close to the house as practical. Proximity reduces run lengths for both water and electrical lines, makes it easier to check on the greenhouse during cold nights without a long walk in the dark, and allows harvesting vegetables in bad weather without leaving the house completely.
The trade-off is shadow. A house to the south, southeast, or southwest of the intended site will cast winter shadows across the glazing for some portion of the day. If proximity to the house means siting the greenhouse on the north or northeast side, where the house blocks winter sun, the convenience advantage disappears because the plants will be underperforming all winter.
The workable solution in most residential settings is to site the greenhouse in the closest available position that still provides full south exposure. For many properties that means somewhere in the southern half of the yard, with the house to the north of the greenhouse position.
For the greenhouse ventilation guide, proximity to the house also matters: a greenhouse close to the house can share an existing wall for thermal mass, and the electrical run for a roof vent opener or exhaust fan is shorter. For winter growing in particular (see winter growing guide), a greenhouse that is easy to access on cold mornings is one the grower actually uses consistently.
Mapping your site before you buy a kit
The most common site selection mistake is choosing a site by looking at it in spring or summer, when the sun is high and shadows short, and then building in fall or winter, when the actual winter sun reveals problems that were invisible in June.
A practical pre-purchase checklist:
- Mark the shadow boundaries in November. Go to the site on a sunny day near the winter solstice and observe the shadow line at 9am, noon, and 3pm. Mark them on a sketch or photograph. This reveals the actual winter sun exposure, not the flattering summer version.
- Measure the slope with a level. A 4-foot level on a stake gives you the rise over run quickly. If the slope is more than a few inches over 8 feet, factor in foundation adjustments.
- Walk the water run. From the nearest hose bib to the intended site, walk the path. Note any obstacles, buried utilities (call 811 before digging), and paving that would require permits or removal.
- Check wind exposure. Stand at the site on a breezy day and note which direction the wind comes from most often. If the site is directly exposed on the north or northwest with nothing to break the wind, factor in a windbreak or a larger heating system.
- Identify your foundation option before ordering. Different foundations work better on different soil and slope conditions. The greenhouse foundation guide covers the options; choosing the right one before the kit arrives avoids delays and emergency adjustments.
Site selection is the decision that the kit never compensates for. A well-engineered greenhouse in a poor location will underperform a simpler structure in the right place, because the location sets the ceiling on what the growing environment can achieve.
Accessories worth buying on day one
Once the site is set, a few items help the structure cope with the sun and cold the location actually delivers.
- AcuRite indoor/outdoor digital thermometer: a remote probe shows whether a low-lying or frost-pocket site really runs colder overnight than the rest of the yard.
- Aluminet reflective shade cloth: a full-sun site that grows well in winter can scorch crops in July, and exterior shade cloth pulls the peak back down.
- Agribon AG-19 floating row cover: a few degrees of insurance on the coldest nights, useful on exposed or cold-air-draining sites where overnight lows run lower.
As an Amazon Associate, Defy Frost earns from qualifying purchases.