Field guide Guides 11 min
How to Power a Greenhouse: GFCI, Circuits, and Safe Wiring
A 1,500-watt heater needs a dedicated 20-amp circuit. Every greenhouse outlet requires GFCI protection. Here is the load plan to bring to your electrician.
A 1,500-watt heater at 120 volts draws 12.5 amps and needs a dedicated 20-amp circuit. Every outlet in a greenhouse requires GFCI protection because the interior qualifies as a damp location under the National Electrical Code. Permanent power runs to a detached greenhouse via buried cable or overhead line, not through an extension cord, with a minimum burial depth of 24 inches for direct-burial cable.
The question most greenhouse owners ask too late is how much power the structure needs before they put it up. Framing a greenhouse 20 feet from the house is a different wiring job than one 100 feet from the house. A structure with a propane heater and a single fan has different demands than one with electric heat, two exhaust fans, a misting system, and LED grow lights. The time to run through these numbers is before the greenhouse goes up, not after.
Why a greenhouse is different from a garage or shed
Two things make a greenhouse unusual from an electrical standpoint: moisture and continuous loads.
A garage stores dry goods and occasional power tools. A greenhouse maintains high humidity by design. Water vapor condenses on the inner surfaces of polycarbonate panels, metal frame members, and any horizontal surface that stays cooler than the dew point inside. Growers work with wet hands over soil that is literally plumbed into the ground. Every outlet, switch, and fixture in the space lives in what the electrical code classifies as a damp or wet location, which triggers specific protection requirements.
The second factor is load duration. A circular saw in a garage runs for minutes. A greenhouse heater runs for hours every night from October through April. A ventilation fan runs most of the afternoon from April through September. The electrical code has a continuous load rule specifically for loads that run three hours or longer: the circuit must be sized to handle 125 percent of the continuous load, not just 100 percent. A load that draws 12 amps needs a circuit rated for 15 amps minimum. In practice, this pushes many greenhouse loads off 15-amp circuits and onto 20-amp circuits.
What you are actually running: a load inventory
Before calling an electrician, list every piece of electrical equipment the greenhouse will contain. This table covers the most common items in a hobby greenhouse:
| Equipment | Common size | Watts | Amps at 120V | Circuit note |
|---|---|---|---|---|
| Electric heater | Portable 120V | 1,500W | 12.5A | Dedicated 20A circuit required |
| Electric heater | 240V unit | 4,800W | 20A (at 240V) | Dedicated 30A, 240V circuit |
| Exhaust fan | 400 to 600 CFM | 60 to 120W | 0.5 to 1.0A | Can share lighting circuit |
| Exhaust fan | 800 to 1,500 CFM | 100 to 200W | 0.8 to 1.7A | Can share lighting circuit |
| Auto vent opener | Wax type | 0W | 0A | No electrical connection needed |
| Propagation heat mat | Standard | 15 to 20W | 0.1 to 0.2A each | Low draw; can share circuit |
| LED grow light | 50W board | 50W | 0.4A | Count fixtures individually |
| LED grow light | 240W bar | 240W | 2.0A | Commercial-style; check driver rating |
| Fluorescent shop light | 4-ft T8 | 32W | 0.3A | Legacy option; lower efficiency |
| Misting system | Small pump | 100 to 150W | 0.8 to 1.3A | Intermittent; check NEC for motor loads |
Wattage converts to amperage at 120 volts using basic math: amps equal watts divided by volts. A 1,500-watt heater: 1,500 divided by 120 equals 12.5 amps. A 240-watt LED fixture: 240 divided by 120 equals 2 amps. Add up everything on a planned circuit and compare the total to 80 percent of the circuit’s rated ampacity.
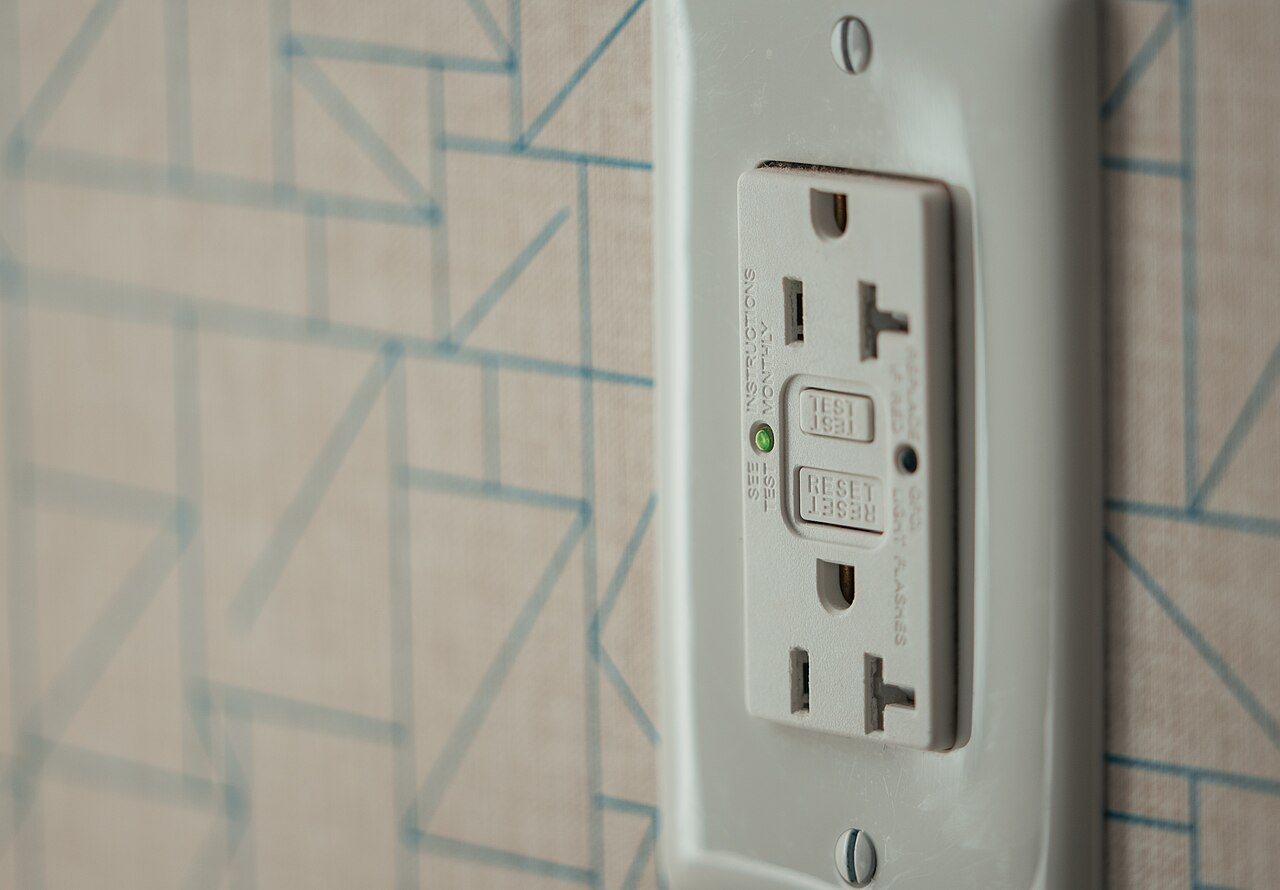
GFCI: what it is and why a greenhouse needs it everywhere
A ground fault circuit interrupter monitors the difference in current between the hot and neutral conductors. Under normal conditions, those currents match exactly. When a fault occurs, such as current finding a path to ground through a person’s body, the GFCI detects the mismatch and trips in about 1/40 of a second. That speed is fast enough to stop electrocution at normal household current levels.
The National Electrical Code requires GFCI protection on all receptacles in damp and wet locations. A greenhouse interior meets that standard by definition. Humidity condenses on structural members. Growers water by hand and by hose. Soil stays wet for days after irrigation. Any outlet installed in that environment must have GFCI protection, either as a GFCI receptacle or as a GFCI breaker protecting the entire circuit.
In practice, GFCI breakers are often the cleaner choice for a greenhouse. Rather than installing individual GFCI receptacles at every outlet location, a single GFCI breaker at the panel protects every outlet on that circuit. If the greenhouse has multiple circuits, a GFCI breaker on each one covers everything with fewer places for water intrusion to compromise the protection device.
Outdoor-rated enclosures with in-use covers protect the outlets themselves from direct water contact. An outlet mounted inside a greenhouse still needs a weatherproof-style cover because the damp air and occasional splash from a hose place it in the same exposure category as an outdoor outlet.
Getting power from the house to the greenhouse
Three practical options exist for bringing electrical service to a detached greenhouse: a temporary extension cord, buried underground cable, or an overhead connection. Each has a different scope of work and a different relationship to the permit process.
Extension cord (temporary only): A heavy-duty outdoor-rated extension cord run from a GFCI outlet at the house provides power for limited seasonal use. The National Electrical Code prohibits extension cords as permanent wiring substitutes. They are not code-compliant for a fixed installation. That said, many greenhouse owners run a 12-gauge, outdoor-rated cord for a growing season while planning a proper permanent connection. If you use this approach, size the cord to the load: 12-gauge wire handles up to about 1,500 watts; 10-gauge handles up to about 2,400 watts. Avoid using any extension cord longer than necessary, as resistance increases with length and voltage drop reduces equipment performance.
Buried underground cable (permanent): The standard approach for permanent power to a detached greenhouse. A trench runs from the main panel or a subpanel at the house to the greenhouse, the cable is laid, and the trench is backfilled. The cable type and burial depth depend on local code adoption. Direct-burial cable rated for underground use (type UF-B) requires at least 24 inches of cover. Cable in PVC conduit reduces to 18 inches. Cable in rigid metal conduit reduces to 6 inches. Conduit offers the additional advantage of allowing the wire to be pulled out and replaced later without digging up the yard. This is a permit-required installation in virtually every jurisdiction.
Overhead connection (less common): In some installations, cable runs from the house on a riser pole to the greenhouse on another riser, with a span of triplex or weatherproof cable between them. Overhead spans require a minimum clearance above grade and clear of any areas that could have vehicle traffic. The complexity typically makes underground the preferred approach for residential properties.
Underground wiring: what the burial looks like in practice
Running underground cable to a greenhouse involves trenching, pulling wire or installing cable, and backfilling. Most electricians use conduit rather than direct-burial cable because conduit protects the wire from accidental damage during any future digging and allows wire upgrades without re-trenching.
A common approach for a small greenhouse close to the house: a 60-amp subpanel at the house feeds the greenhouse subpanel through a 1-inch PVC conduit buried 18 inches deep. The greenhouse subpanel then distributes individual circuits for heating, ventilation, and lighting. This arrangement allows future circuits to be added at the greenhouse panel without running new wire from the house.
The distance from the house matters. Longer runs create voltage drop, which reduces equipment performance. An electrician can calculate whether the wire gauge needs to be increased to compensate for the distance. A 100-foot run at 120 volts with a 15-amp load may need larger wire than the same circuit would in a typical interior installation.
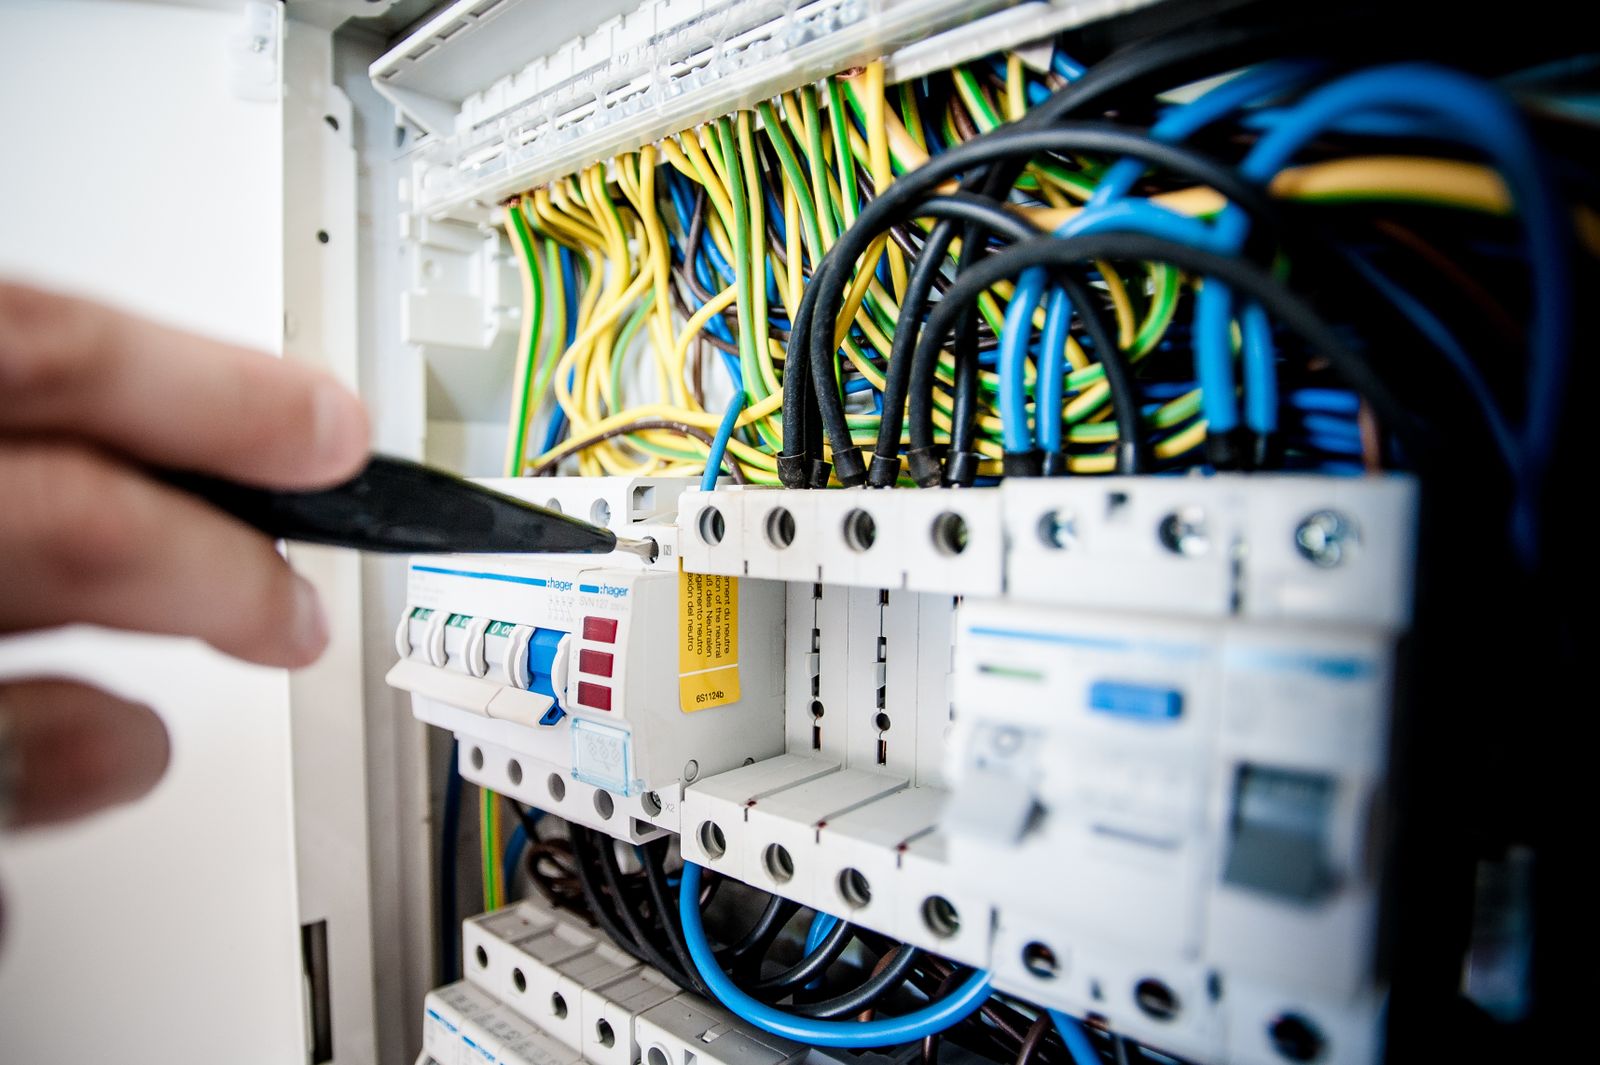
Separate circuits for heaters, fans, and lights
The single most common electrical mistake in a hobby greenhouse is putting everything on one circuit and then wondering why the breaker trips when the heater and fans both kick on at the same time.
A 1,500-watt heater at 12.5 amps plus two 200-watt fans at 1.7 amps each plus four 50-watt LED grow lights at 0.4 amps each equals 15.2 amps total. A 15-amp circuit trips. A 20-amp circuit runs at 76 percent of its rated ampacity with all loads running simultaneously, which is within code but leaves almost no headroom for motor inrush current when the fans start.
The clean solution is separate circuits. The greenhouse heating guide covers heater sizing in detail; the short version is that a 1,500-watt unit like the Bio Green Palma greenhouse heater runs on its own dedicated circuit. A second circuit feeds fans, thermostat controls such as the Inkbird ITC-308 temperature controller, and any small accessory loads. If grow lights are in use, a third circuit for lighting prevents any interaction between the lighting load and the ventilation controls.
This also isolates faults. When a heater element fails and draws excess current, the heater circuit trips without affecting the lighting or ventilation. In a winter-active greenhouse, losing lighting or ventilation because the heater circuit tripped could be a serious problem. Separate circuits prevent that dependency.
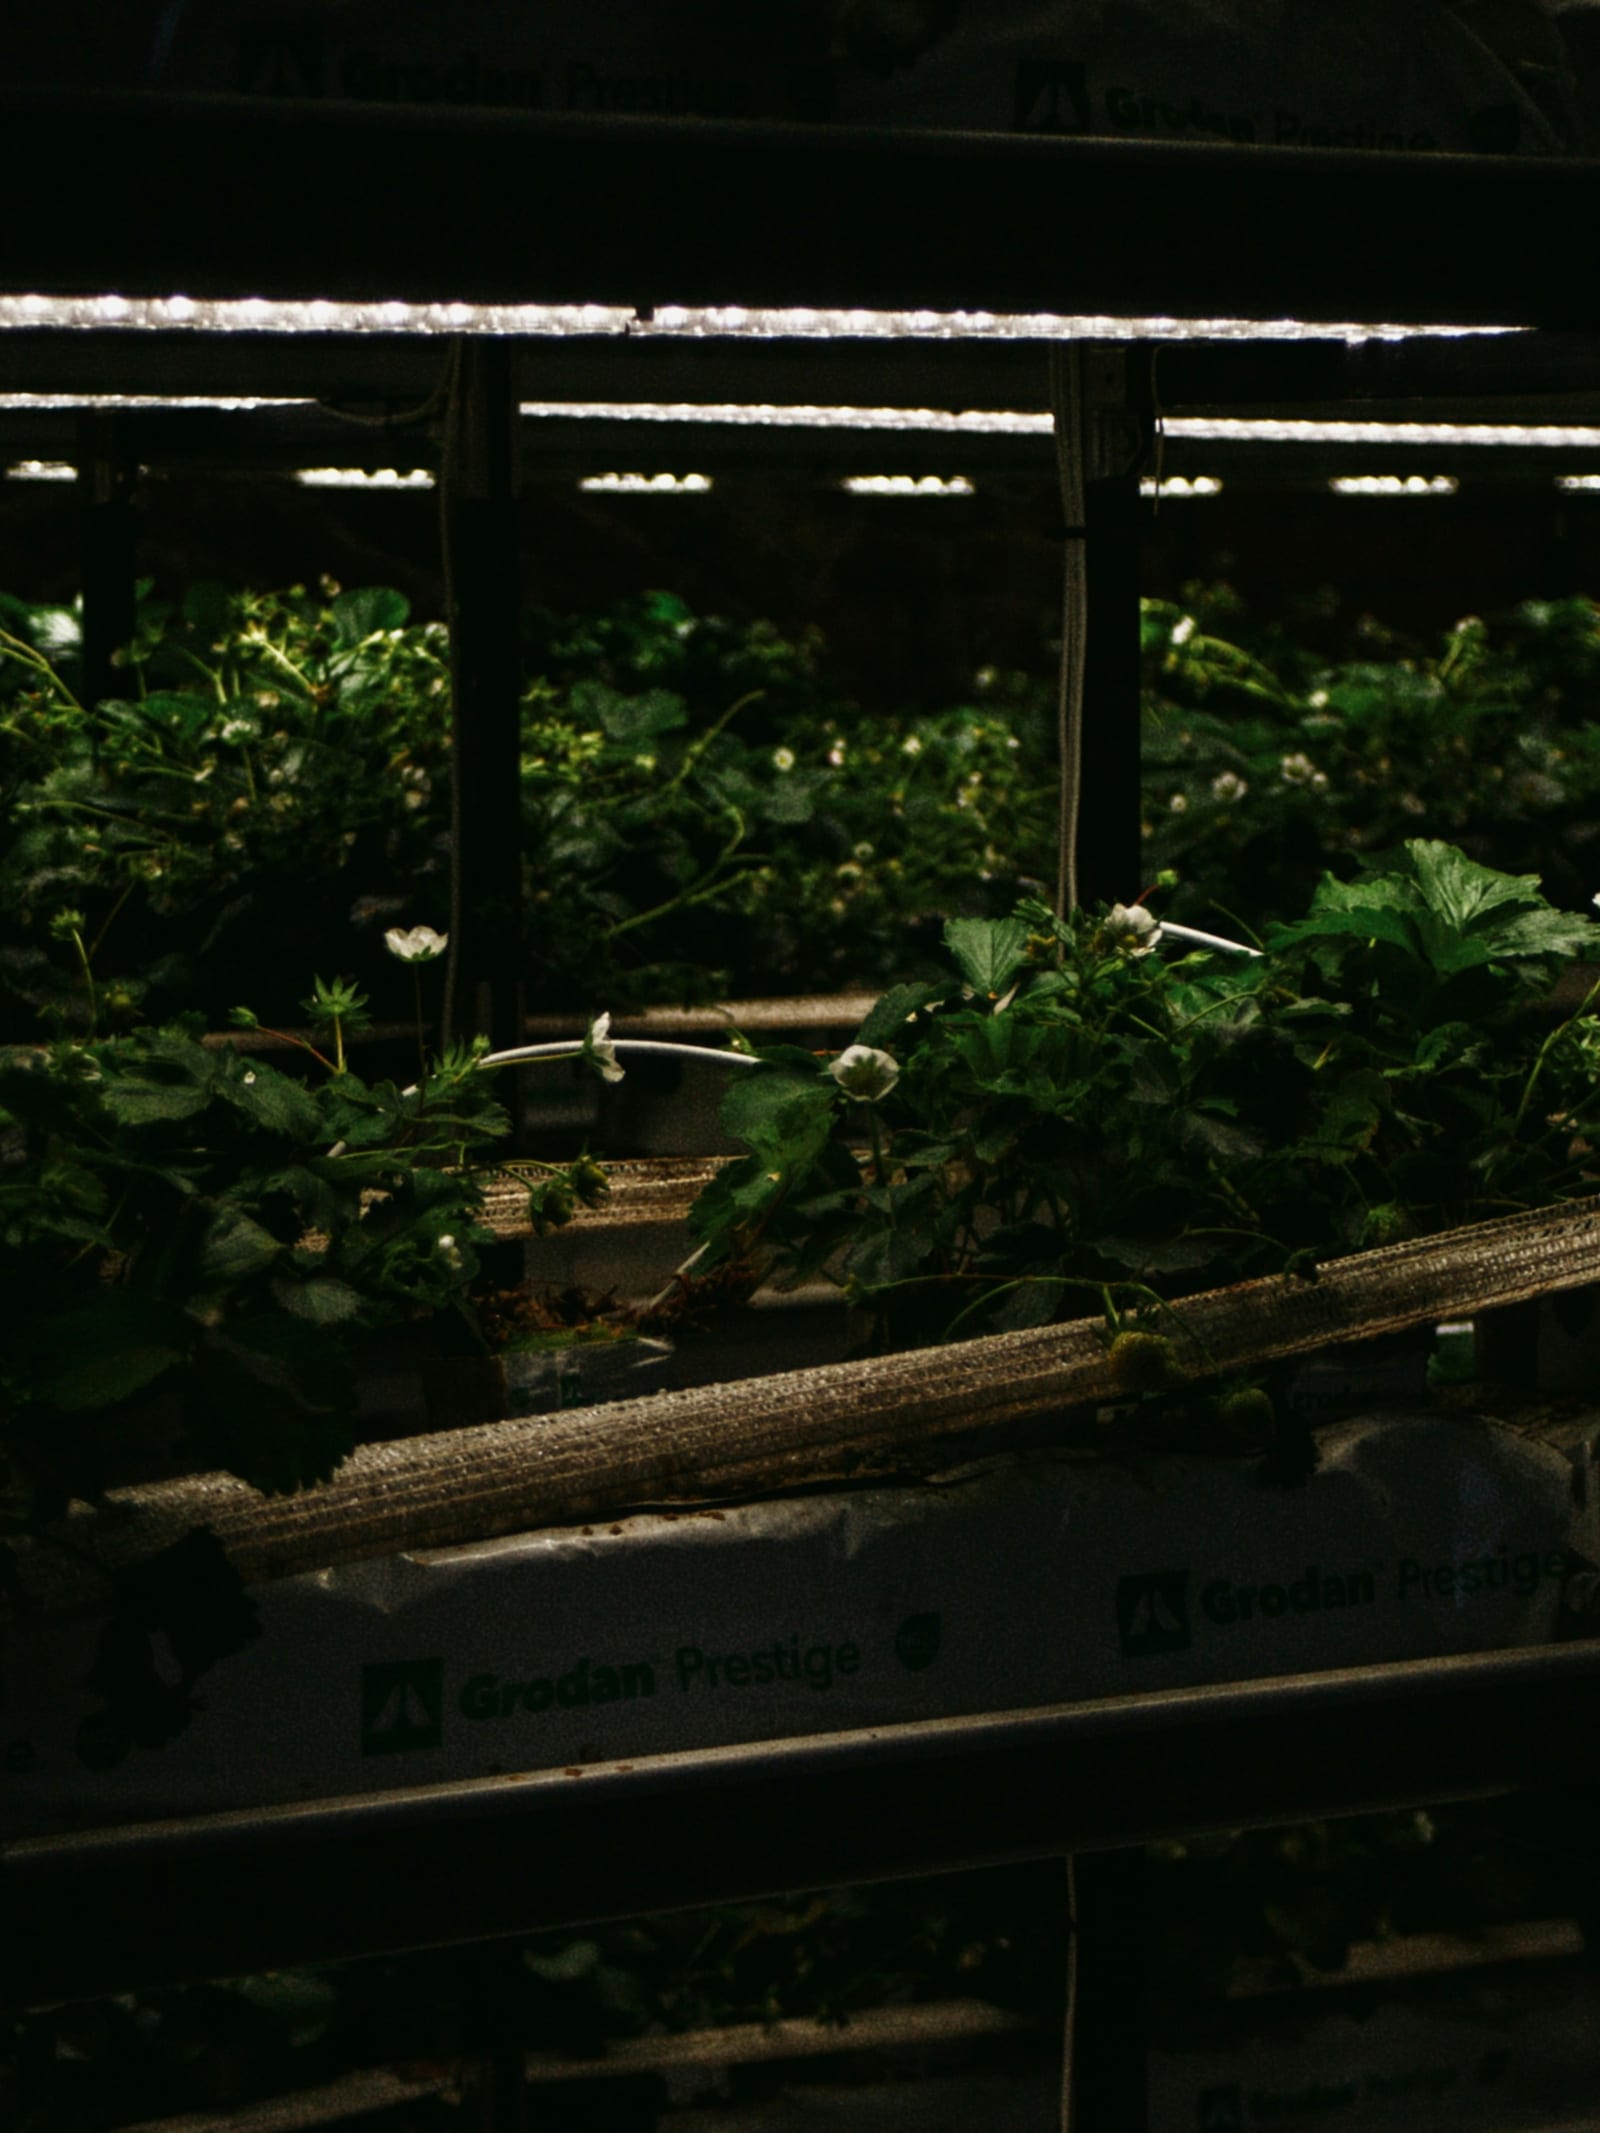
Grow lights: a different load profile
LED grow lights are the practical choice for supplemental lighting in a hobby greenhouse. Compared to legacy HPS (high-pressure sodium) fixtures, LEDs produce more usable light per watt and add far less heat to the greenhouse. A 240-watt LED fixture providing coverage equivalent to a 600-watt HPS lamp means the lighting system’s contribution to the greenhouse heat load is about 40 percent of what the older technology would produce.
The load calculation still matters. A 240-watt LED fixture at 120 volts draws 2 amps. Four fixtures draw 8 amps. Under the continuous load rule, a dedicated 15-amp circuit handles four fixtures at 80 percent capacity (12 amps maximum continuous, 8 amps actual load from the fixtures). A 20-amp circuit provides headroom for additional fixtures or accessory lighting without approaching the limit.
LED drivers, the power supply units built into or attached to LED fixtures, run hot and must have adequate airflow around them. Mounting an LED driver inside an enclosed enclosure in a humid greenhouse shortens its life significantly. Most manufacturers specify minimum clearances in their installation instructions. Drivers also contribute a small amount of heat to the greenhouse interior, which is worth accounting for in the ventilation sizing calculation.
The permit question
Running new electrical service to a detached structure almost always requires a permit. The specific threshold varies by state, county, and municipality. Some jurisdictions permit a homeowner to pull their own electrical permit for work on their own residence. Many require a licensed electrical contractor. The greenhouse permits guide covers permit requirements in more detail; the electrical permit specifically is typically required whenever new service is added to a detached structure, regardless of the structure’s size.
The reason the permit matters is inspection. An inspector verifies that the burial depth is correct, the wire gauge matches the breaker, the GFCI protection is in place, and the connections meet code. Work done without a permit and without inspection is a potential problem when the property sells or when an insurance claim involves the structure.
If an existing greenhouse foundation was built without anticipating electrical service, running conduit after the fact typically involves less disruption than it sounds. Most greenhouse kits do not require penetrating the foundation to bring in power; conduit can run through a weatherproof fitting in the base channel or through the lowest wall section.
What to tell your electrician
The most efficient path to a working greenhouse electrical system is arriving at the first conversation with an electrician prepared:
- A load list. List every piece of electrical equipment, its wattage, and whether it runs continuously or intermittently. The table at the top of this article gives the typical numbers for common equipment.
- The distance from the house. Measure the distance from your main panel to the planned greenhouse location. Longer distances may require larger wire gauges.
- What circuits you want. One dedicated circuit for heating, a second for fans and accessories, a third for grow lights if used. Or ask the electrician to suggest the configuration based on your load list.
- Whether you want a subpanel. A 60-amp subpanel at the greenhouse gives flexibility for future additions without running individual circuits the full distance from the house.
- Your local jurisdiction. The electrician knows which edition of the NEC your jurisdiction has adopted and any local amendments. You do not need to know the specific code sections; that is what the electrician is for.
The Exaco Riga and most premium greenhouse kits ship with provisions for a lighting and power connection built into the base or end wall. Knowing where the kit’s knockout or conduit entry point is located helps the electrician plan the trench route and final connection point before any digging starts.
Accessories worth buying on day one
Once the circuits are in, these are the powered loads most hobby greenhouses plug into them first.
- Shutter exhaust fan with thermostat: a powered exhaust that pulls hot air out on summer afternoons and counts as a continuous load when you size its circuit.
- VIVOSUN AeroWave clip-on fan: a low-draw circulation fan that runs continuously to keep air moving, sharing a lighting or accessory circuit without much load.
- VIVOSUN seedling heat mat: a 15-to-20-watt propagation mat that draws almost nothing and can share a circuit with other small loads.
As an Amazon Associate, Defy Frost earns from qualifying purchases.