Field guide Guides 9 min
Cheap Greenhouse Heating: Bubble Wrap, Barrels, and BTU Math
Cut greenhouse heating costs without a furnace. Horticultural bubble wrap, water barrel thermal mass, and a correctly sized heater. Verified June 2026.
Your last frost date is a suggestion. The real question is what it costs to ignore it, and for a small hobby greenhouse, that cost is far lower than most guides admit.
Heating a greenhouse cheaply starts with a number almost nobody publishes: the surface area formula. Before you buy a single propane tank or extension cord, you need to know what your greenhouse actually loses on your coldest night. Everything else follows from that.
The number that tells you what you’re dealing with
Greenhouse heat loss follows a straightforward formula. Take your total glazed surface area in square feet (walls plus roof), multiply by your design temperature difference (the gap between your target overnight minimum and your expected coldest night), then multiply by the U-value of your glazing material.
The University of Arkansas Extension publishes U-values grounded in real testing: single-pane glass at 1.13 BTU/hr per sq ft per °F; twin-wall polycarbonate (the standard for most mid-priced kits) at 0.65; double-poly film at 0.70. Charley’s Greenhouse, which has been selling greenhouse supplies since 1972, uses a simplified version of the same formula: surface area × temperature difference × 1.1 as a quick baseline for single-glazing (University of Arkansas Extension, “Greenhouse Heating Systems,” verified June 2026; Charley’s Greenhouse, “Heat Calculation Formulas,” verified June 2026). For a full breakdown of what each glazing material costs over its useful life, our greenhouse plastic guide covers co-poly, 6 mil UV-rated film, and polycarbonate side by side.
Run a real example. A 6×10 ft hobby greenhouse, roughly 200 sq ft of glazed surface when you count the roof and end walls, target overnight minimum 45°F, design outside low 10°F. Temperature difference: 35°F.
- Single-pane glass, uninsulated: 200 × 35 × 1.13 = 7,910 BTU/hr
- Twin-wall polycarbonate: 200 × 35 × 0.65 = 4,550 BTU/hr
- Single-pane glass lined with bubble wrap (effective U ~0.56): 200 × 35 × 0.56 ≈ 3,920 BTU/hr
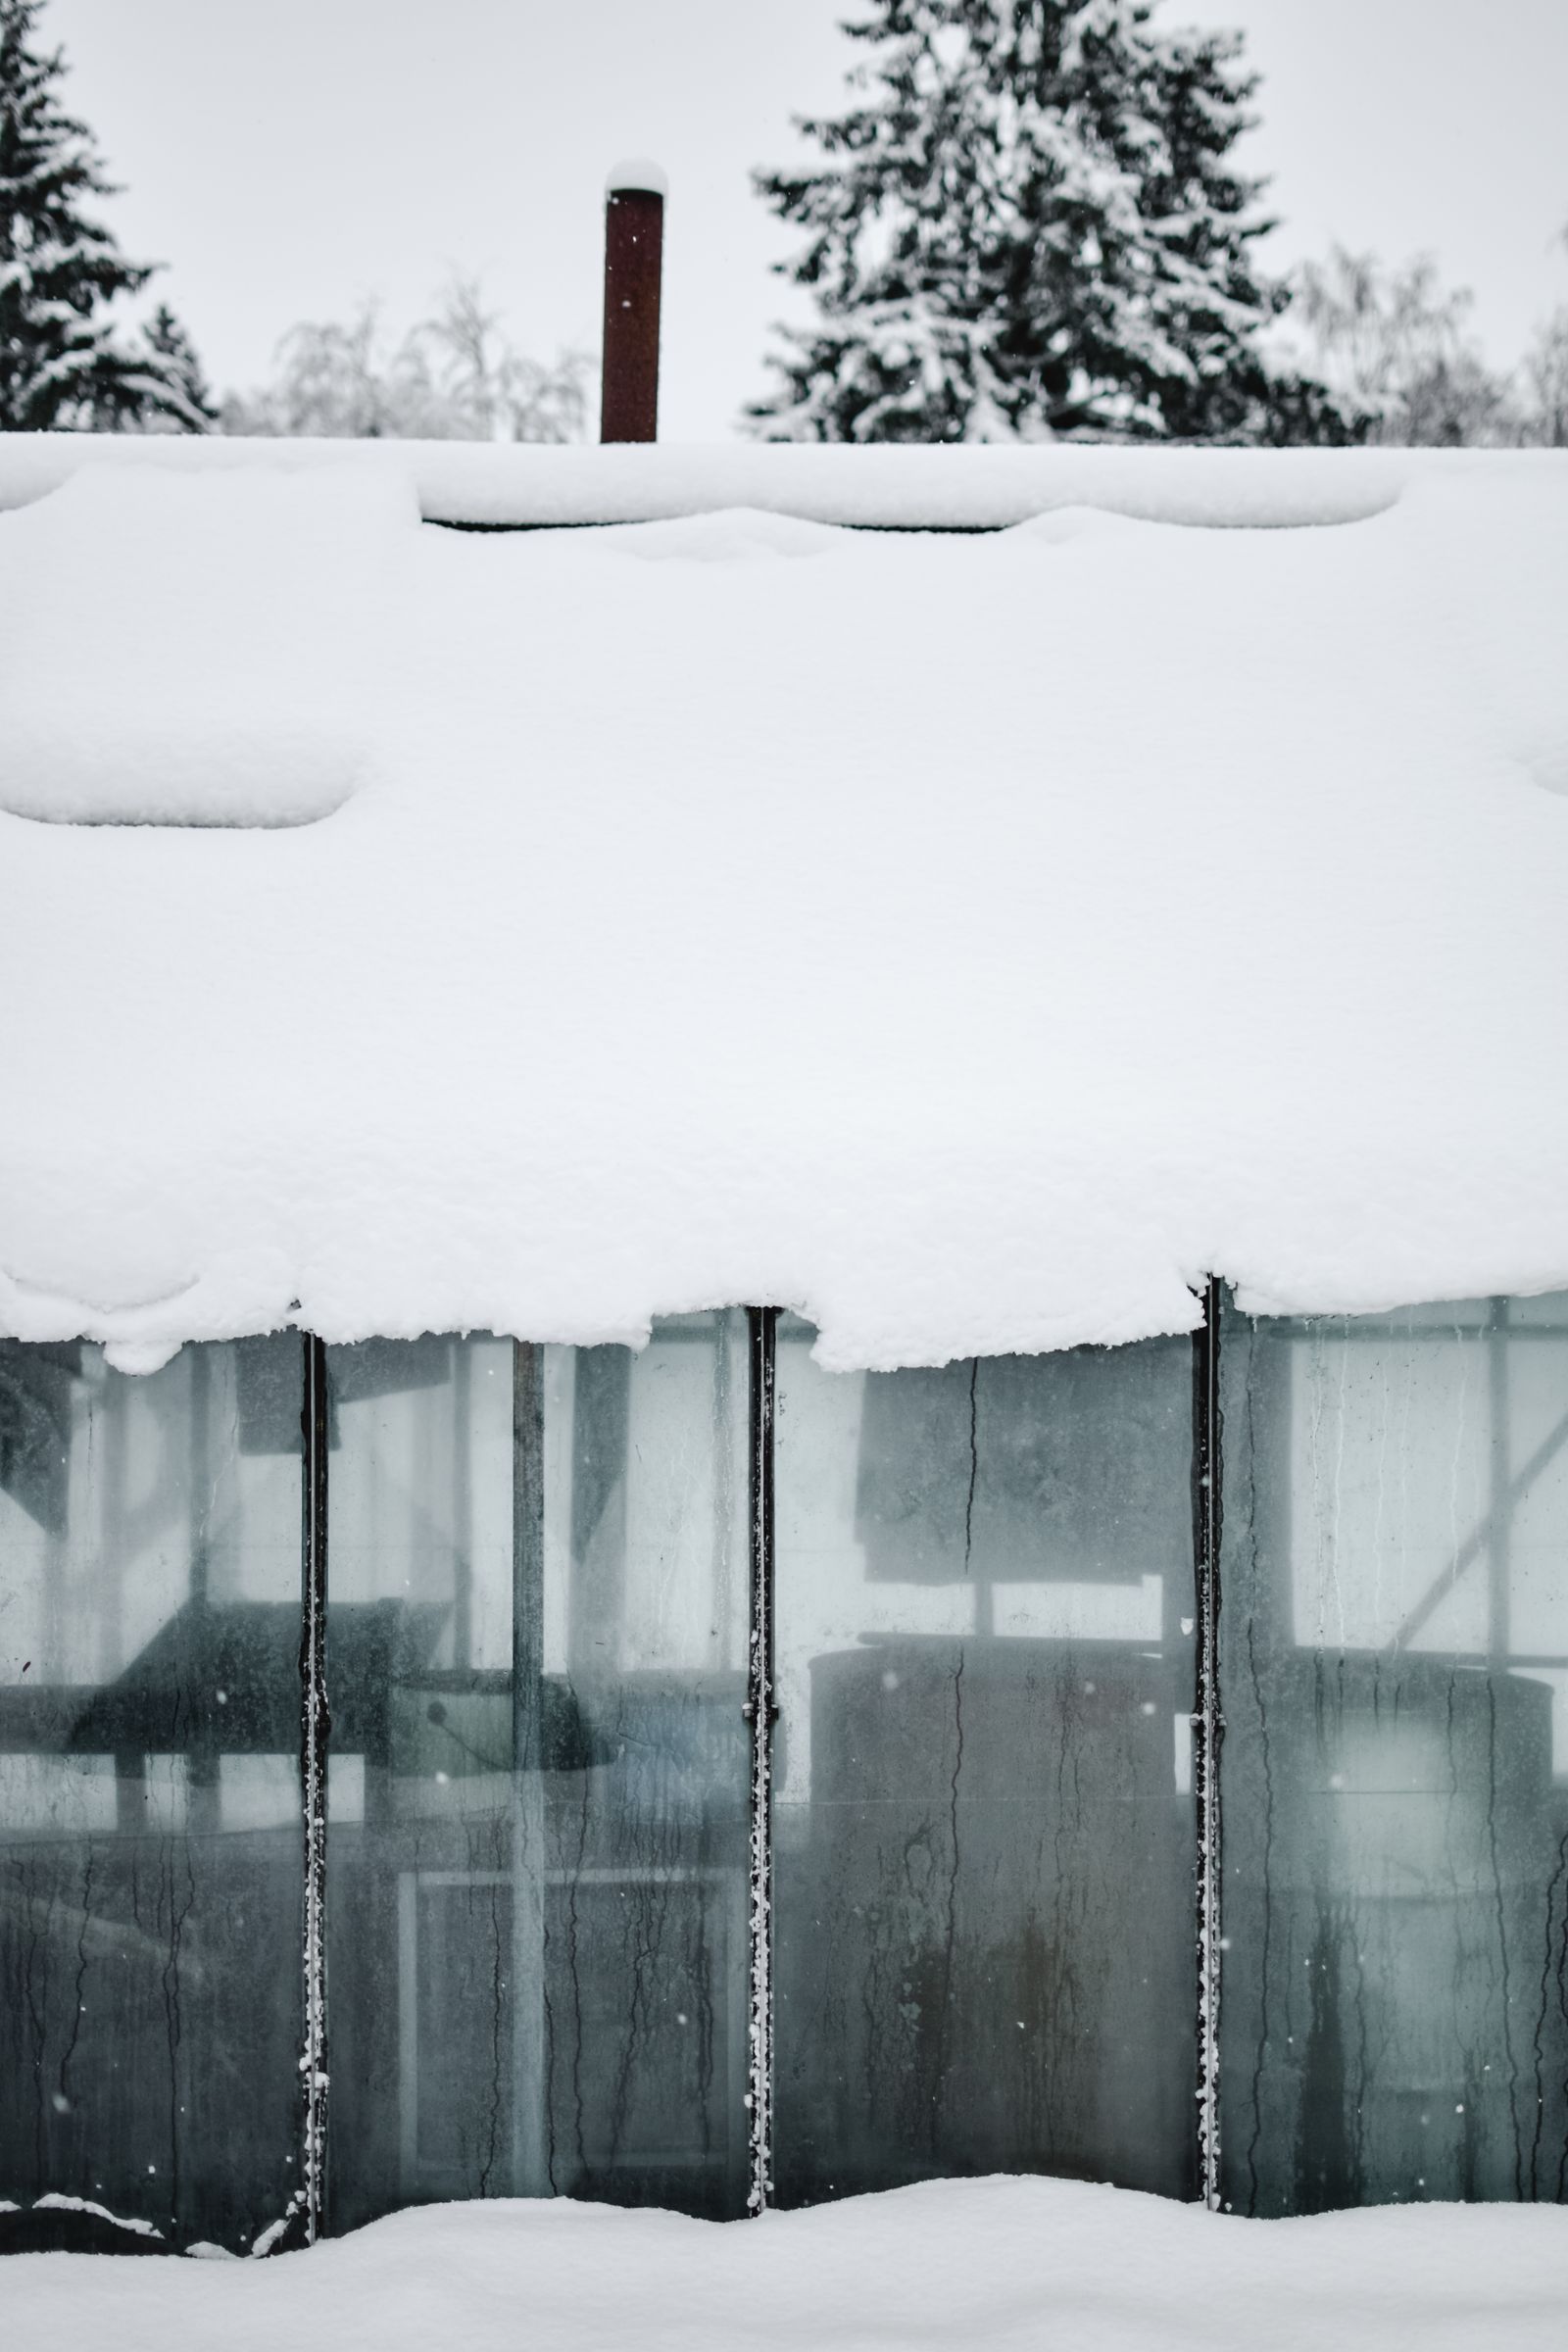
That bubble wrap number is not a rounding error. Adding horticultural bubble wrap to single-pane glass roughly doubles its insulation value (from approximately R-1 to R-2) and drops the heating load to below what twin-wall polycarbonate requires uninsulated. Before you spend a dollar on fuel, you can spend $30 on horticultural bubble wrap and cut your heating bill nearly in half.
Bubble wrap: the $30 fix that beats the $300 heater
Horticultural bubble wrap is not the stuff that comes in Amazon boxes. Standard packaging wrap is made without UV stabilizers; it yellows and disintegrates in a single season. Horticultural-grade wrap is UV-stabilized and uses 20–24mm diameter bubbles, which are large enough to trap a meaningful air pocket. The larger the bubble, the better the insulation.
Installation on glass is satisfying in its simplicity. Spray the inside of each pane with water, press the wrap on with the bubbles facing the glass, and smooth outward from the center. Surface tension holds it without clips, tape, or any fastener. Cut each piece 5–10mm smaller than the pane on each side so it doesn’t wrinkle at the frame. For aluminum-frame greenhouses, snap-in bubble wrap with integral clips is available and goes on faster; either approach works.
On polycarbonate panels, or any surface where water spray won’t hold, use greenhouse poly tape in 4-inch width or wider to seal the seams between pieces. Narrow tape peels at temperature swings.
A few things to keep in mind. Bubble wrap blocks about 10–15% of light: fine for overwintering, problematic for seedlings that need full intensity. Remove it by April in most zones. And cut a few small openings near any auto-vent openers so the wax cylinders can still sense the ambient temperature correctly; covering them throws off the opening threshold.
What you’re buying with bubble wrap is a season-extension tool, not a replacement for a heater when a hard freeze hits. On a 20°F night with no heater, a bubble-wrapped single-pane greenhouse will hold 5–8°F warmer than the outside air, not 30°F warmer. That difference keeps cold-hardy greens alive but won’t protect peppers. Know what you’re growing.
Water barrels: the overnight furnace you fill once
Thermal mass is stored heat. Water absorbs BTUs from sunlight during the day and releases them slowly overnight. It is the oldest greenhouse heating trick in existence, costs almost nothing, and is still the right answer for passive heating in any climate with reliable winter sun.
The physics are straightforward. Water stores roughly 8.33 BTUs per gallon per degree Fahrenheit. One 55-gallon barrel holds about 458 BTUs per degree. If four barrels start the day at 70°F and cool to 45°F overnight, they release 4 × 458 × 25 = 45,800 BTUs. That is roughly equivalent to running a 1,500-watt electric heater for nine hours. The UConn Extension publishes the underlying figure directly: water stores three times as much heat per unit volume as concrete or sand (UConn Extension, “Heat Storage for Greenhouses,” verified June 2026).
For a 100 sq ft hobby greenhouse, two to three 55-gallon barrels positioned where they receive direct sun through the south- or east-facing wall is a practical starting point. Paint them flat black if possible. Dark surfaces absorb more solar radiation than light ones. The water doesn’t need to be heated actively; the goal is to let the sun do the charging and let the overnight temperature difference do the discharging.
The honest constraint: on a cloudy week in January in zone 5, the barrels don’t fully recharge. Thermal mass extends the temperature floor and slows the rate of cooling, but it doesn’t produce heat. If you want a guaranteed minimum temperature on every night of the year, you need a backup heater. Thermal mass reduces how long that heater runs.
When you do need a heater: size it correctly
Bubble wrap and water barrels are not a heater. They reduce the load on one, but when you need to maintain a specific minimum temperature on your coldest nights, you need active heat. The good news is that for a small hobby greenhouse with good insulation, that heater is probably a lot smaller than you think.
Back to the formula. A 100 sq ft greenhouse (6×10 ft footprint, roughly 200 sq ft of glazed surface), twin-wall polycarbonate, targeting 45°F on a 15°F night: 200 × 30 × 0.65 = 3,900 BTU/hr. Add 20% for infiltration losses through the door seals and frame gaps: 4,680 BTU/hr. A standard 1,500-watt electric space heater outputs 5,118 BTU/hr. That covers the load.
For a 10×12 ft greenhouse (roughly 350 sq ft of glazed surface) on the same night: 350 × 30 × 0.65 = 6,825 BTU/hr. With infiltration buffer: 8,190 BTU/hr. You need a 2,500-watt heater (8,530 BTU/hr) or two 1,500W units.
A few non-negotiables with greenhouse electric heaters. Use one rated for wet or damp locations: a Bio Green Palma greenhouse heater is built for exactly this humidity, where a standard bedroom space heater is not. The thermostat must be adjustable down to 35–40°F and must control the heater automatically, not just be a presence sensor. A heater that runs at full blast all night wastes fuel and can overheat plants; a thermostat that cycles it on and off between 40°F and 50°F is the correct setup. A remote probe thermometer (one that reads from outside the greenhouse) is how you verify the overnight low without walking out at 3 a.m.
Electric vs. propane at current prices. At the EIA’s verified June 2026 U.S. averages (17.30¢/kWh for electricity, $2.674/gallon for propane), propane costs about $0.023 per 1,000 BTU of heat output. Electric resistance costs about $0.051 per 1,000 BTU. Propane is cheaper per BTU by a factor of about 2.2x. But electric heaters require no fuel tank, no venting through the glazing, and no concern about running out of propane at 2 a.m. in January. For a hobby greenhouse running a few hundred hours per season, the annual cost difference on a small load is $30–80. That is real money, but for most growers the convenience of plug-in electric wins until the greenhouse gets large enough to justify a dedicated propane line.
The four-layer approach, in order of cost
The right way to heat a greenhouse cheaply is not to start with the heater. It is to work through the layers in order of bang-per-dollar:
Layer 1: Seal and insulate (cost: $30–80 for a 6×10 ft greenhouse). Bubble wrap every pane of single glass. Replace any cracked or missing polycarbonate panels. A single missing 4-ft panel on a 6×10 greenhouse adds roughly 400 BTU/hr to your overnight heat load. Seal the door with adhesive-backed foam weatherstripping. These steps are free or nearly free relative to the heating bill they eliminate.
Layer 2: Thermal mass (cost: $0–60 for the barrels, free if you find them used). Two or three flat-black 55-gallon barrels positioned in the sunniest part of the greenhouse. On a clear-day winter week in zone 5–7, this alone can keep a small insulated greenhouse 10–15°F above outside air overnight without running a heater.
Layer 3: A correctly sized electric heater with a wet-location thermostat (cost: $60–150). Size to 120% of your calculated BTU load. Set the thermostat to 38–42°F for hardy greens, 50°F for anything frost-sensitive. A min/max thermometer with a remote probe (an AcuRite model with a 10-foot cable does the job) tells you whether the setpoint is being reached every night.
Layer 4: Double the insulation on the north wall and roof (cost: $15–40 in additional bubble wrap, foam board, or a reflective mylar backing). The north wall and the roof peak lose the most heat relative to their contribution to light. Insulating the north wall fully (there is no growing advantage to transparent north glazing) can drop your heating load by another 15%.
What the forums won’t tell you: the cheapest heater is the one you size right
The most common greenhouse heating mistake is buying a heater that’s either too small (and the plants freeze during an unexpected cold snap) or too large (it cycles on and off every two minutes and dies within two seasons from short-cycle fatigue). The BTU formula above is not optional: it is the homework that keeps both failure modes off your property.
If you take one number away from this page: a correctly insulated 100 sq ft twin-wall greenhouse targeting 45°F minimum needs about 4,700 BTU/hr on a 15°F night. A 1,500-watt heater covers it. A 750-watt heater does not. A 5,000-watt unit works but costs twice as much to run. The math is not complicated, and it is the difference between a greenhouse that earns its keep and one that disappoints.
If you’re deciding between kit types based on heating cost, our greenhouse plastic and glazing guide walks the R-value story from single poly film to 16mm triple-wall. And if your question is whether a greenhouse actually earns its keep in your zone through the winter, our winter growing guide was written to answer it.
Accessories worth buying on day one
A short list of the gear that earns its place once you commit to heating a greenhouse through a real winter.
- Inkbird ITC-308 temperature controller: plugs inline with a basic heater and cycles it on and off at your setpoint, so the unit’s vague built-in dial never decides whether the plants freeze.
- VIVOSUN seedling heat mat: bottom heat for germination trays, which lets you start seeds in a cool greenhouse without heating the whole air space.
- Agribon AG-19 floating row cover: a fabric layer draped over the beds that adds 2 to 4°F of frost protection at plant level on the coldest nights, a second insulation layer below the glazing.